Help and guides / Venue owners
Sign up as a venue owner with your venue’s name, confirm your email with a code, and land on your new venue’s dashboard.
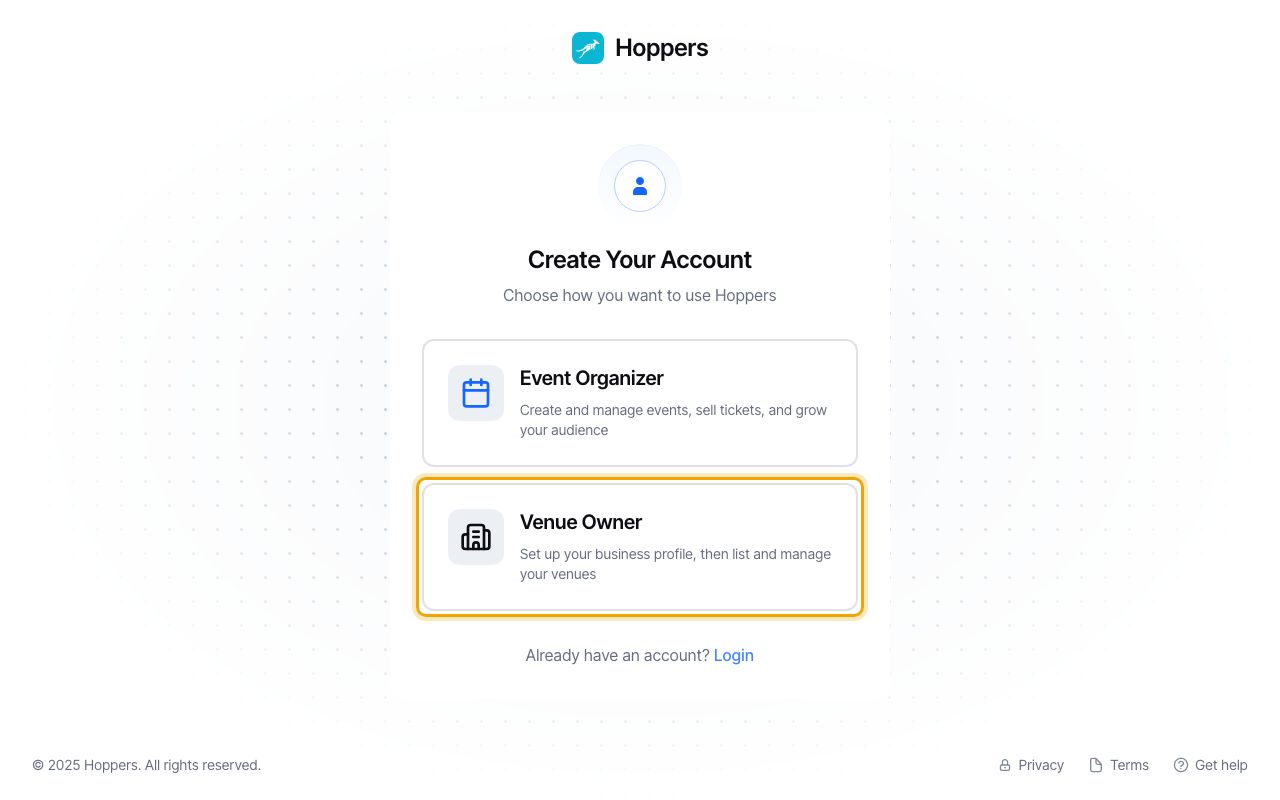
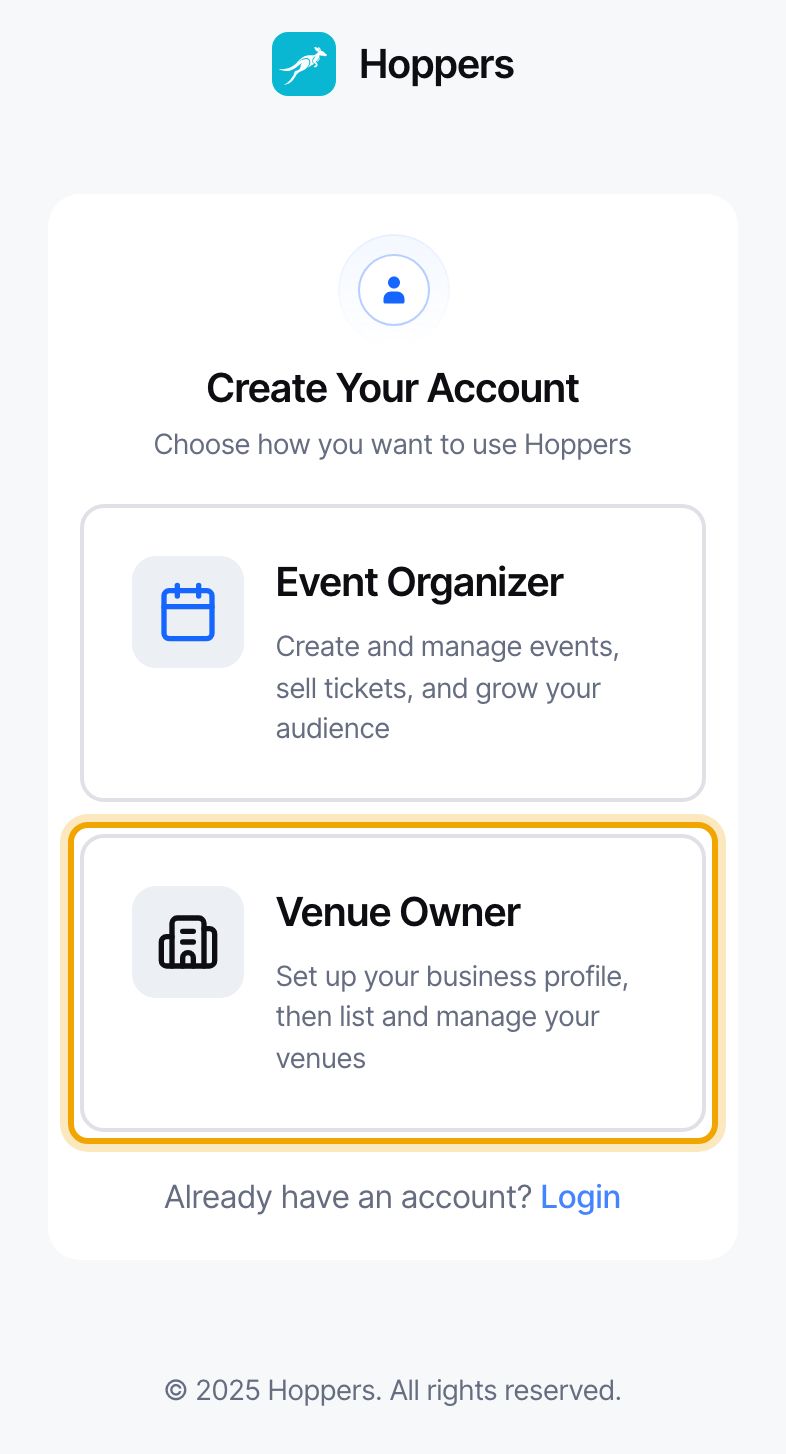
Open the Hoppers dashboard sign-in page and select “Register” under the form. On “Create Your Account”, select “Venue Owner”.
On the Hoppers website, “Create account” under “For venues” at the bottom of any page takes you straight to the next step.
Enter your “First Name” and “Last Name”, then your venue’s name under “Venue Name”. Add your “Email Address” and your “Phone Number”, typed without the leading zero, for example 771234567.
You can rename your venue later. Its dashboard link stays the same.
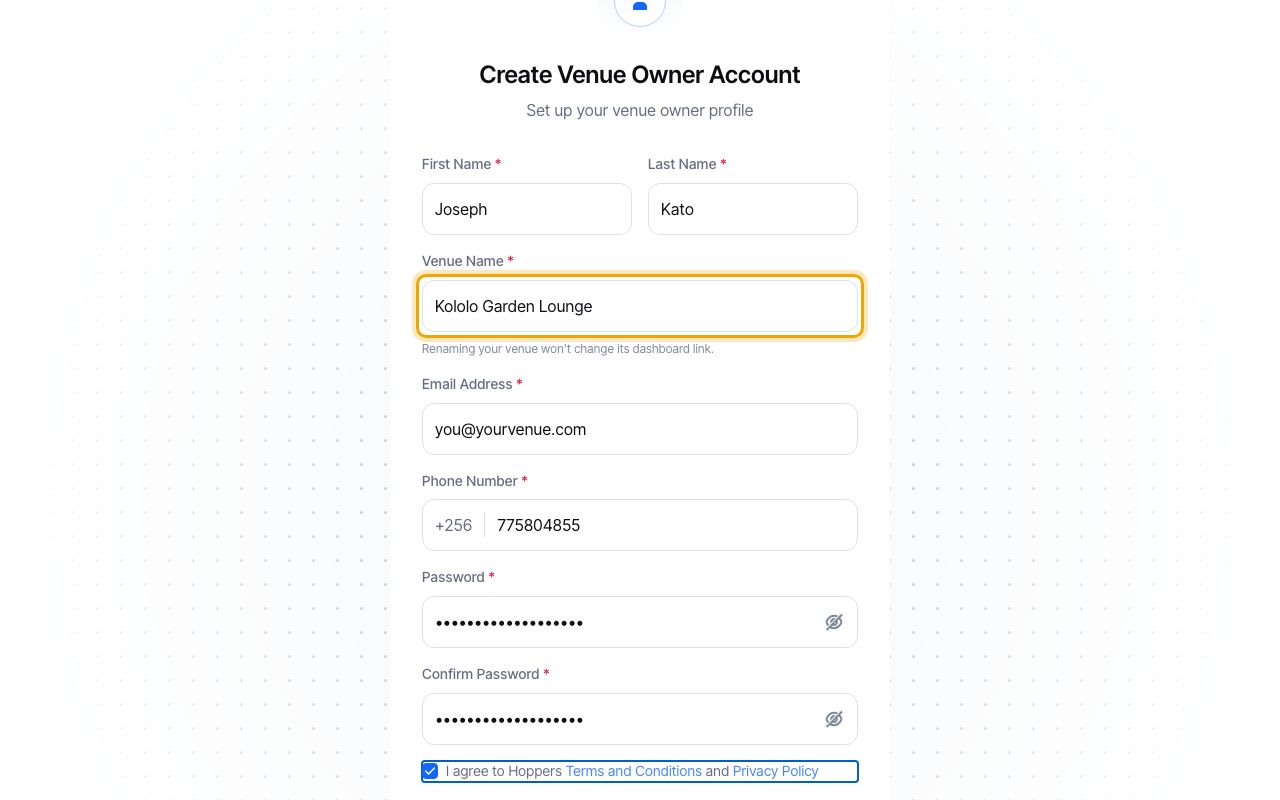
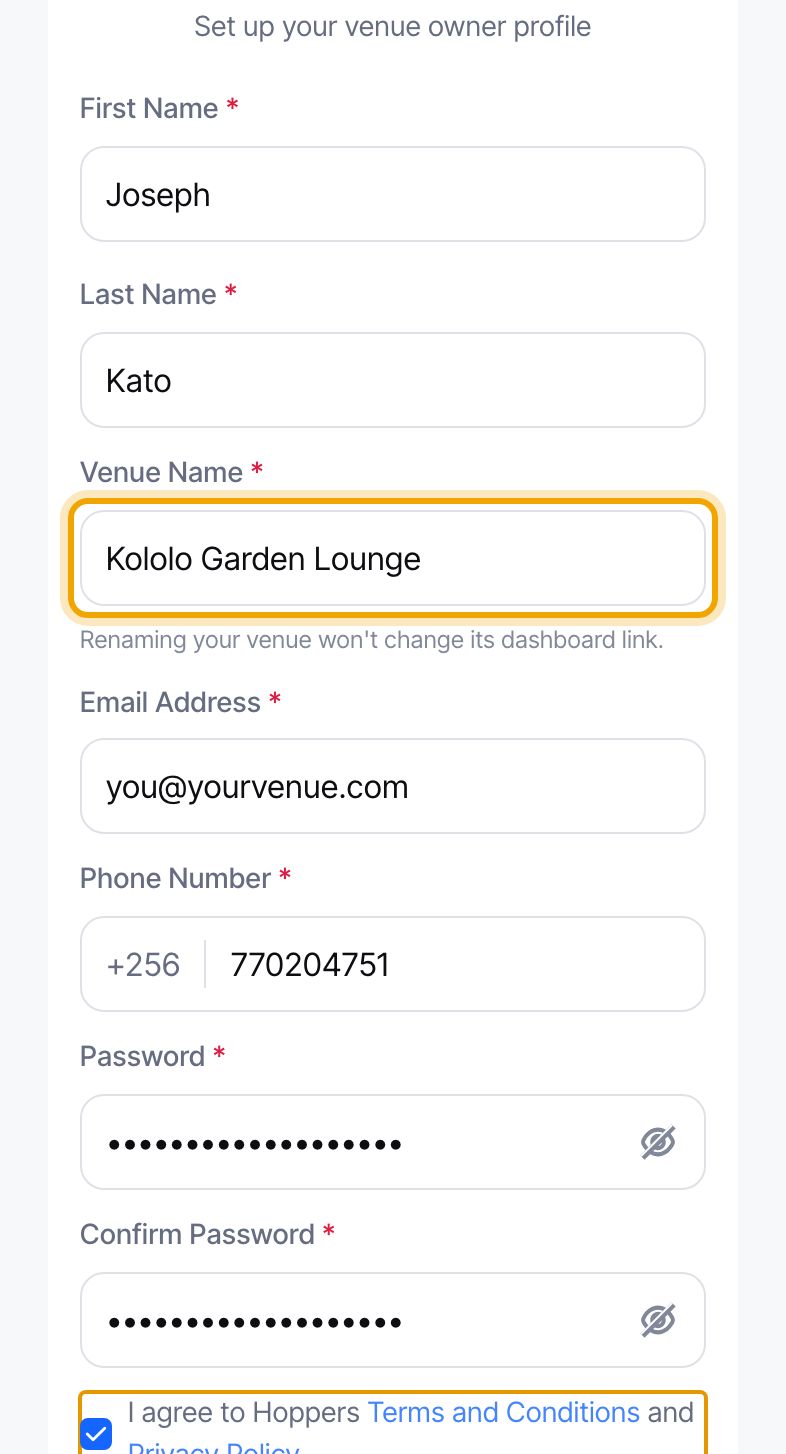
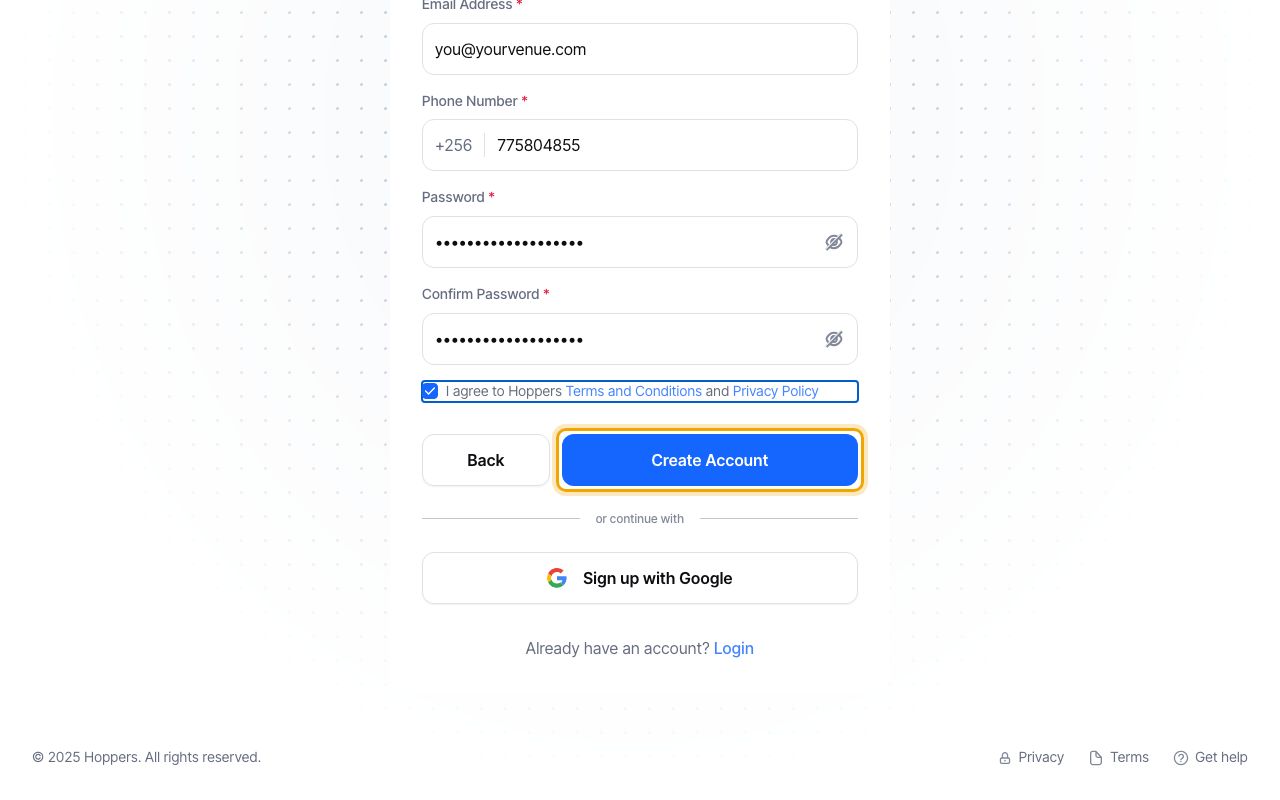
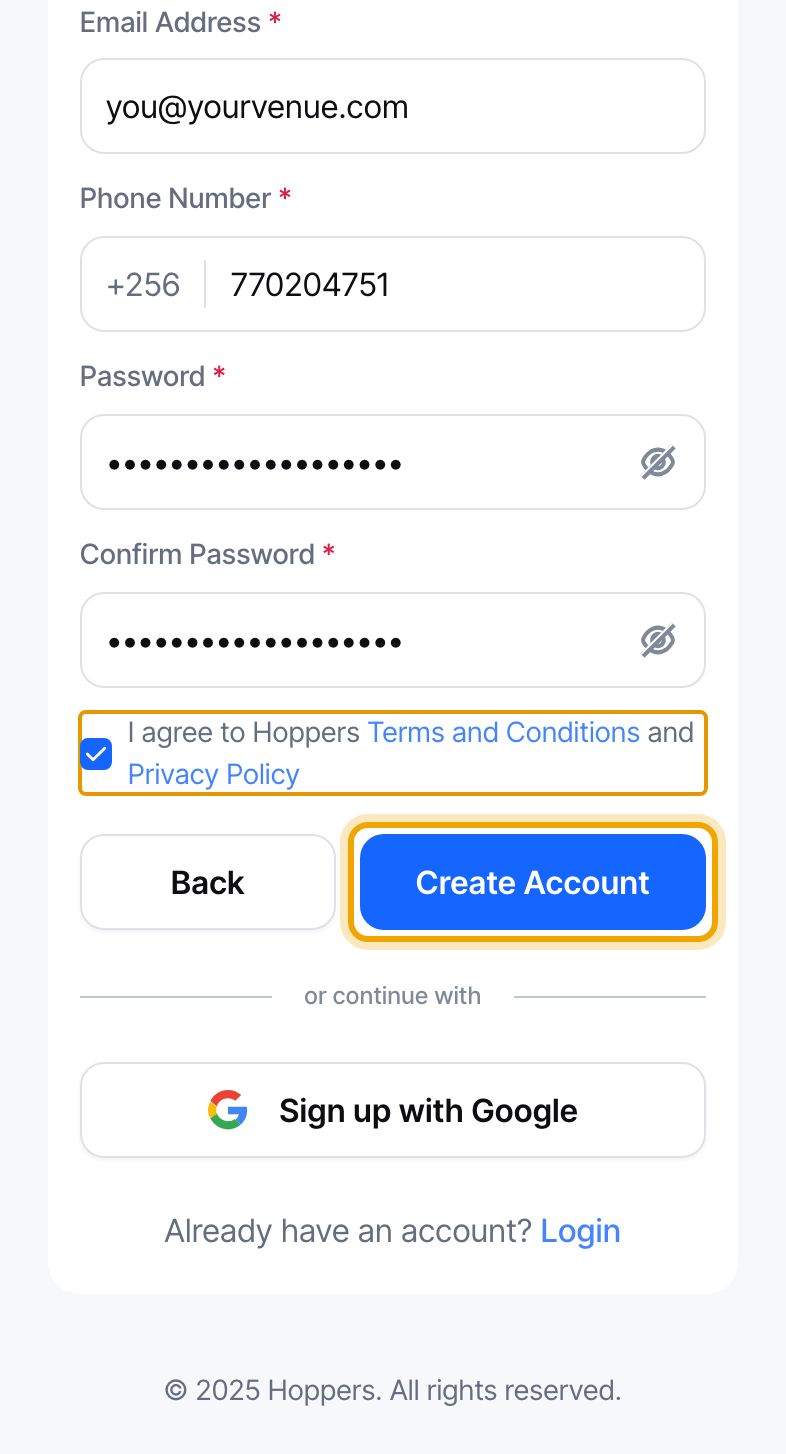
Choose a “Password” of at least 8 characters and type it again under “Confirm Password”. Tick the box to agree to the Terms and Conditions and the Privacy Policy, then select “Create Account”.
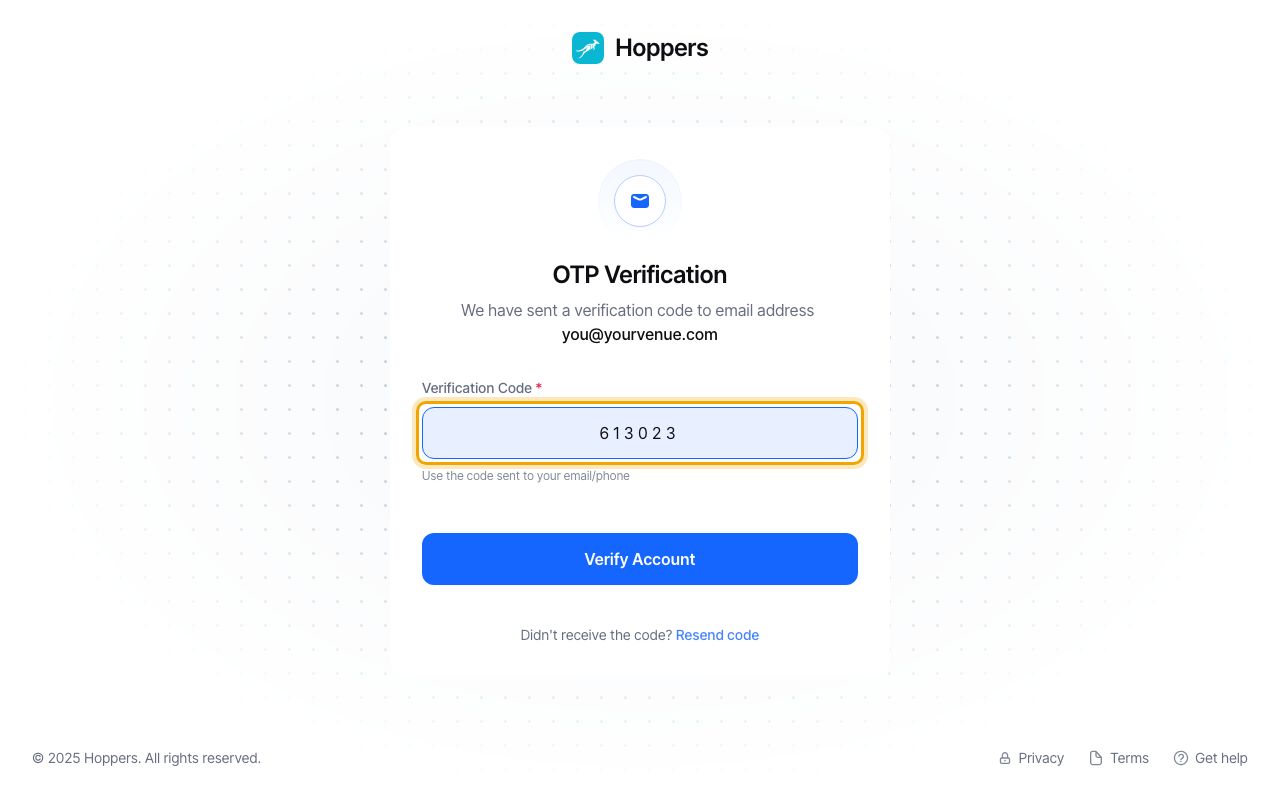
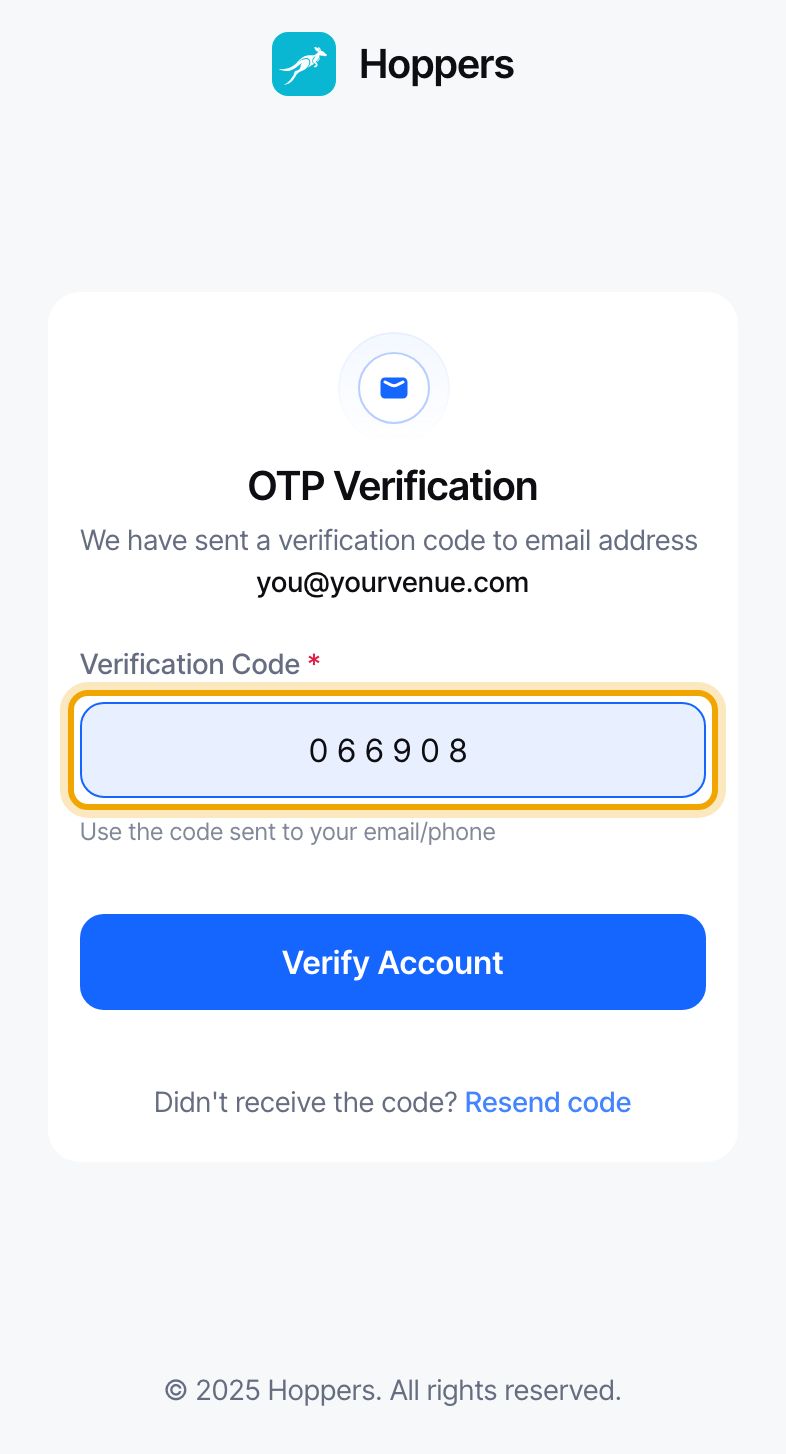
We send a 6-digit code to your email address. On “OTP Verification”, type it into “Verification Code” and select “Verify Account”.
No code after a few minutes? Check your spam folder, or select “Resend code”.
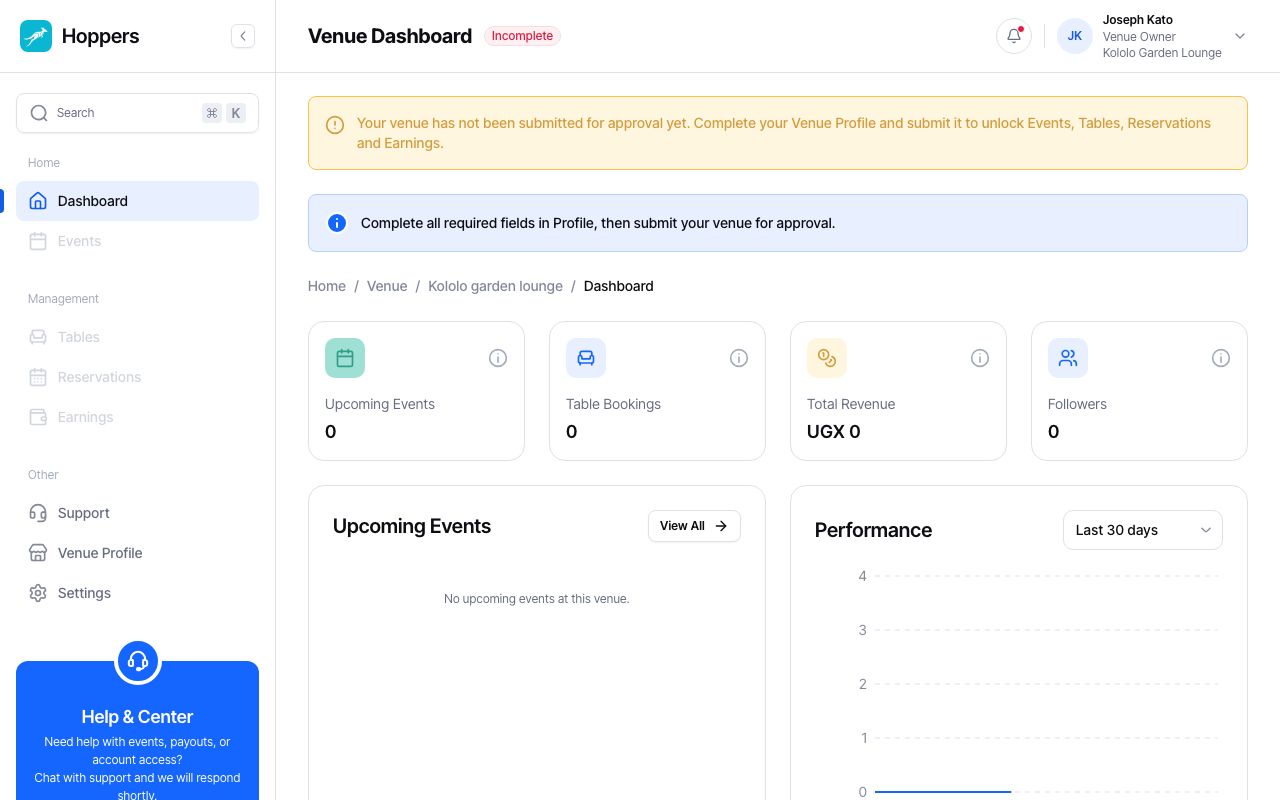
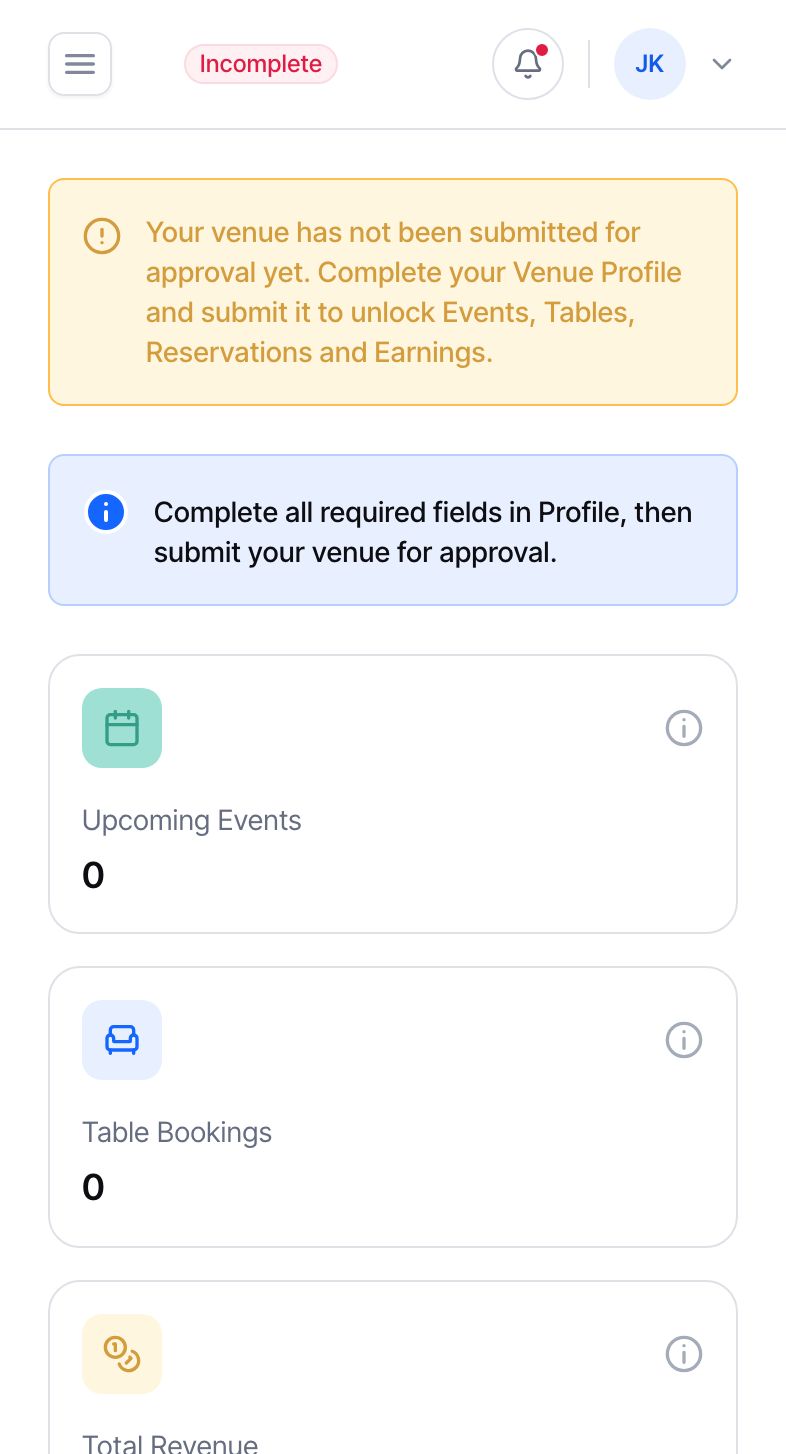
You land on your new venue’s dashboard. Nothing is shown to guests yet: first fill in your venue profile and send it for approval. Our guide “Set up your venue profile” shows how.