Check guests in on the night with a camera or by typing their ticket code, and choose which team members can scan for you.
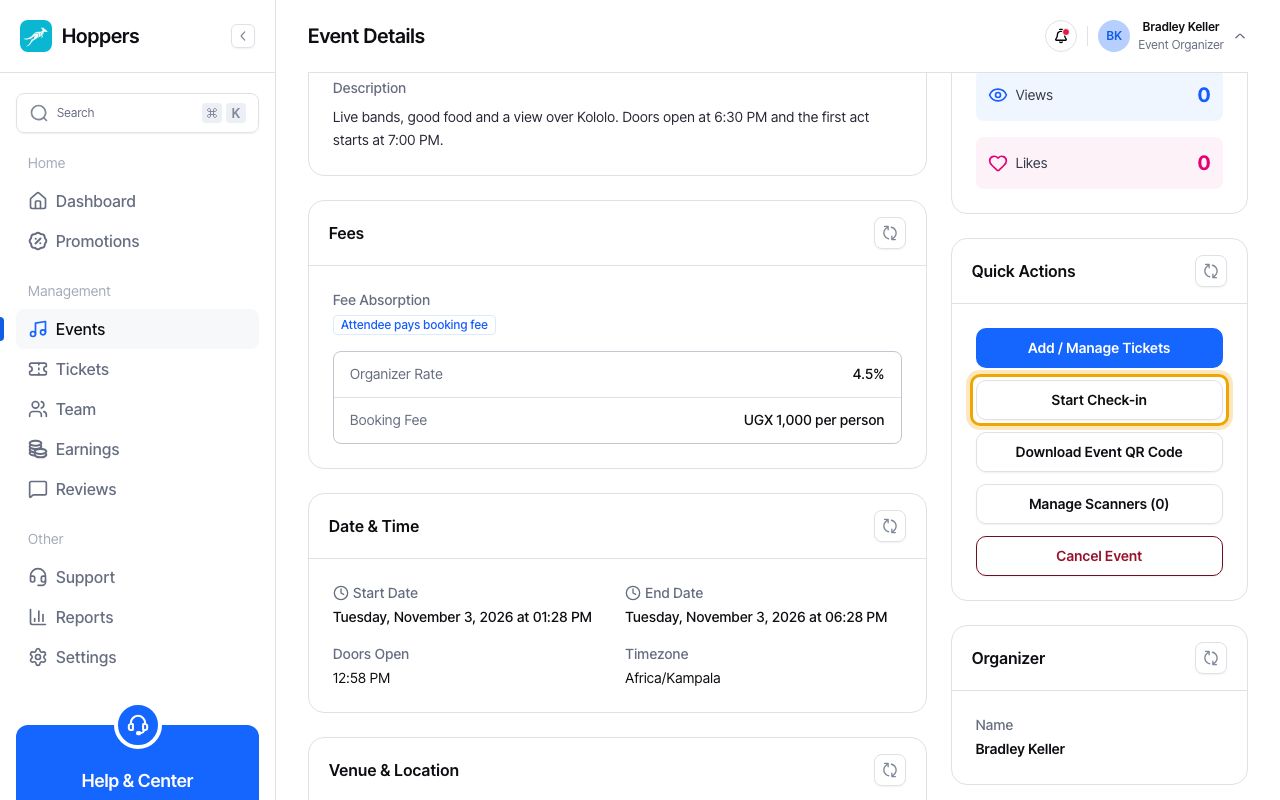
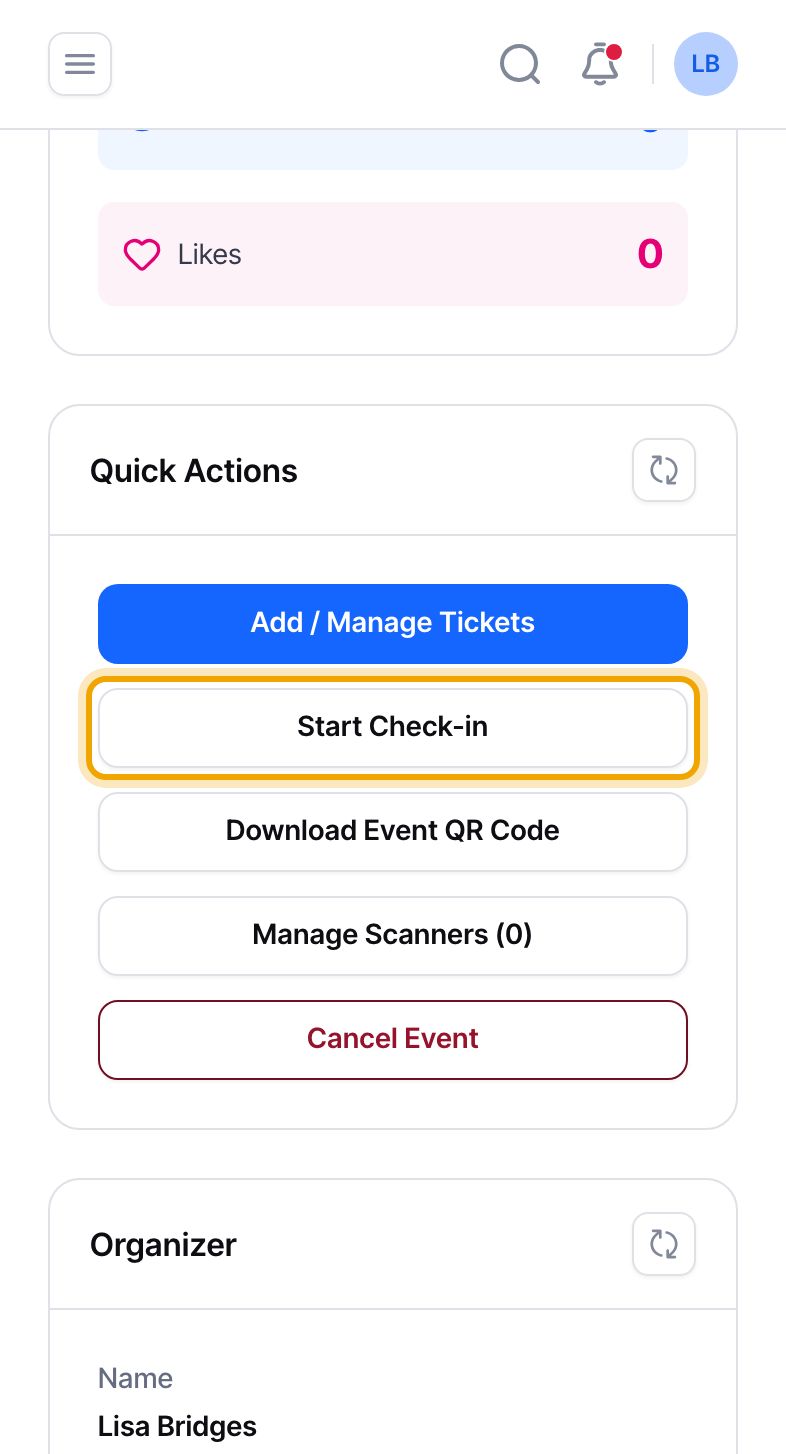
Open your event from the “Events” page. In the “Quick Actions” box, select “Start Check-in”. On a phone the box is below the event details.
Check-in opens when the doors open, or two hours before the start if you did not set a doors-open time. It closes when the event ends.
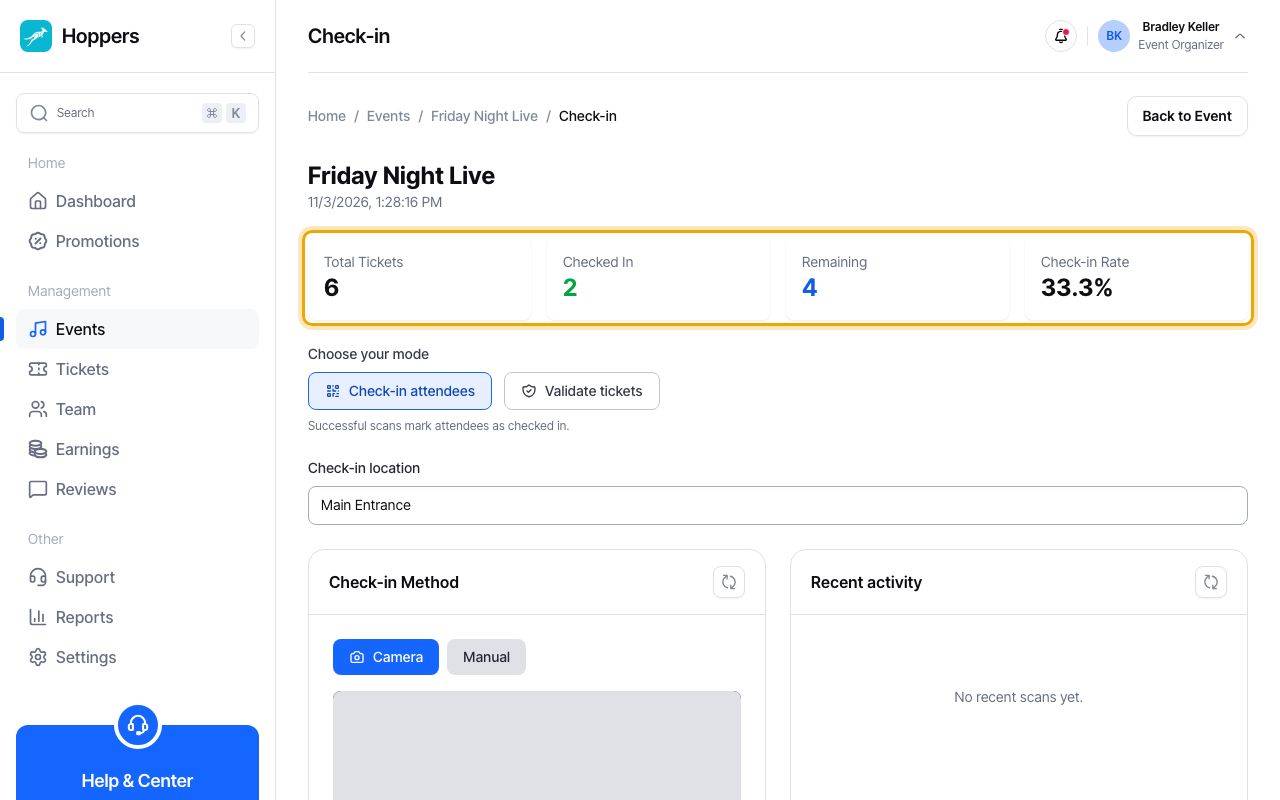
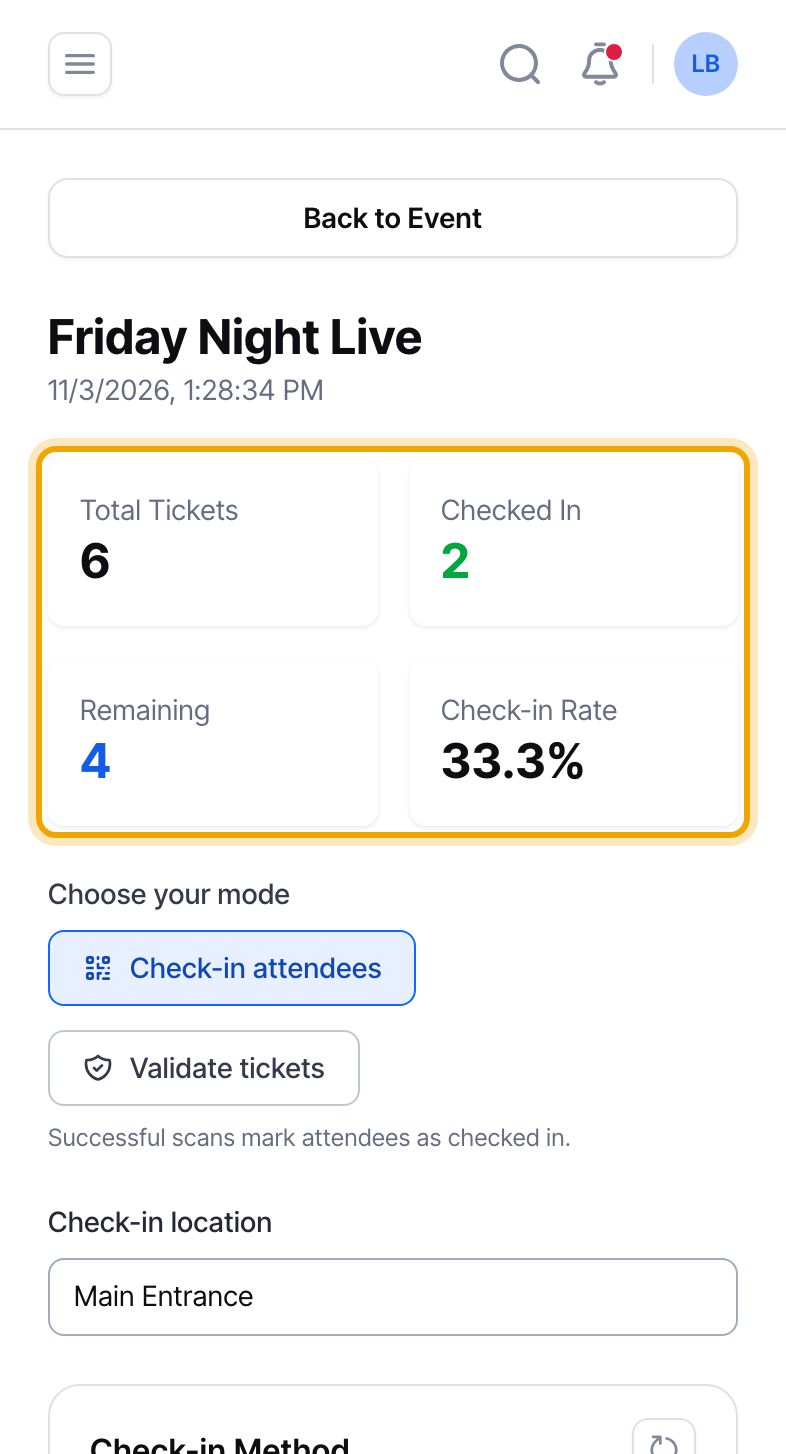
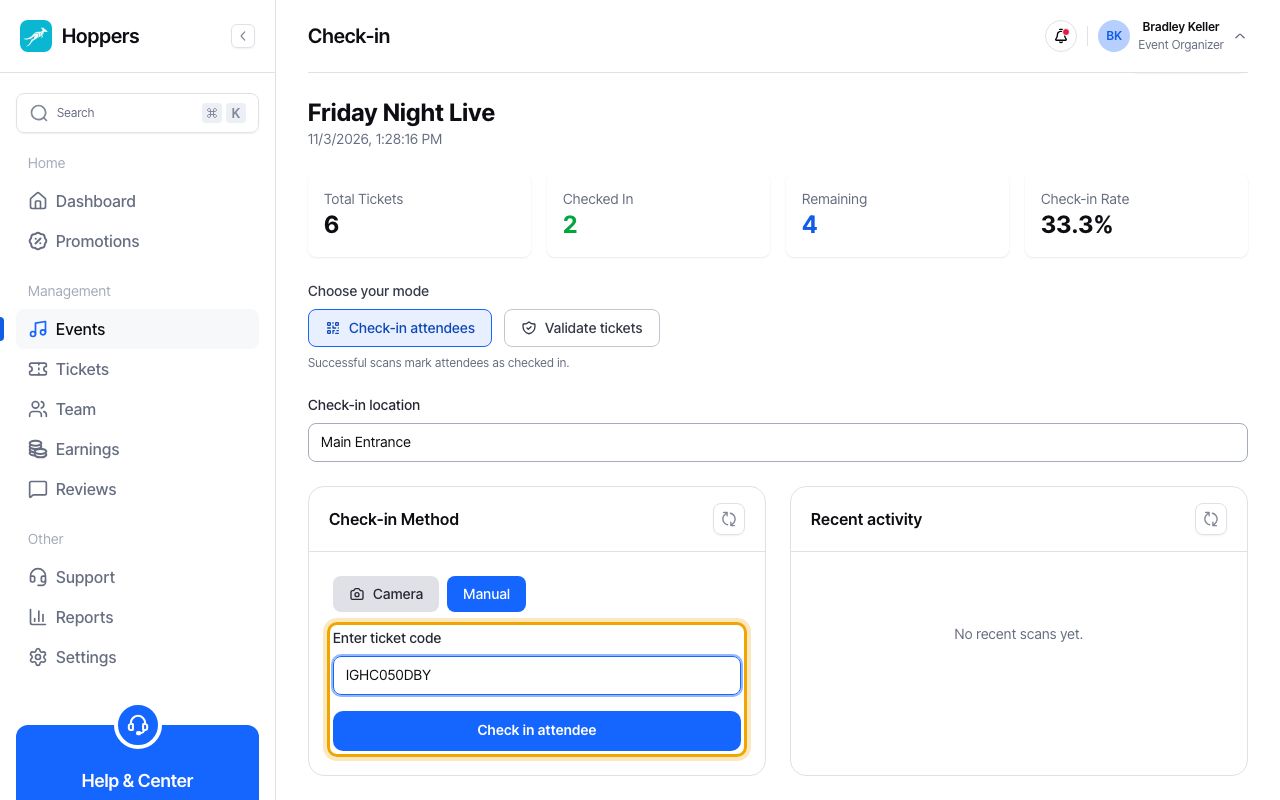
The top of the page shows “Total Tickets”, how many are “Checked In”, how many are “Remaining”, and the “Check-in Rate”, the share of tickets already used. They update as you let people in.
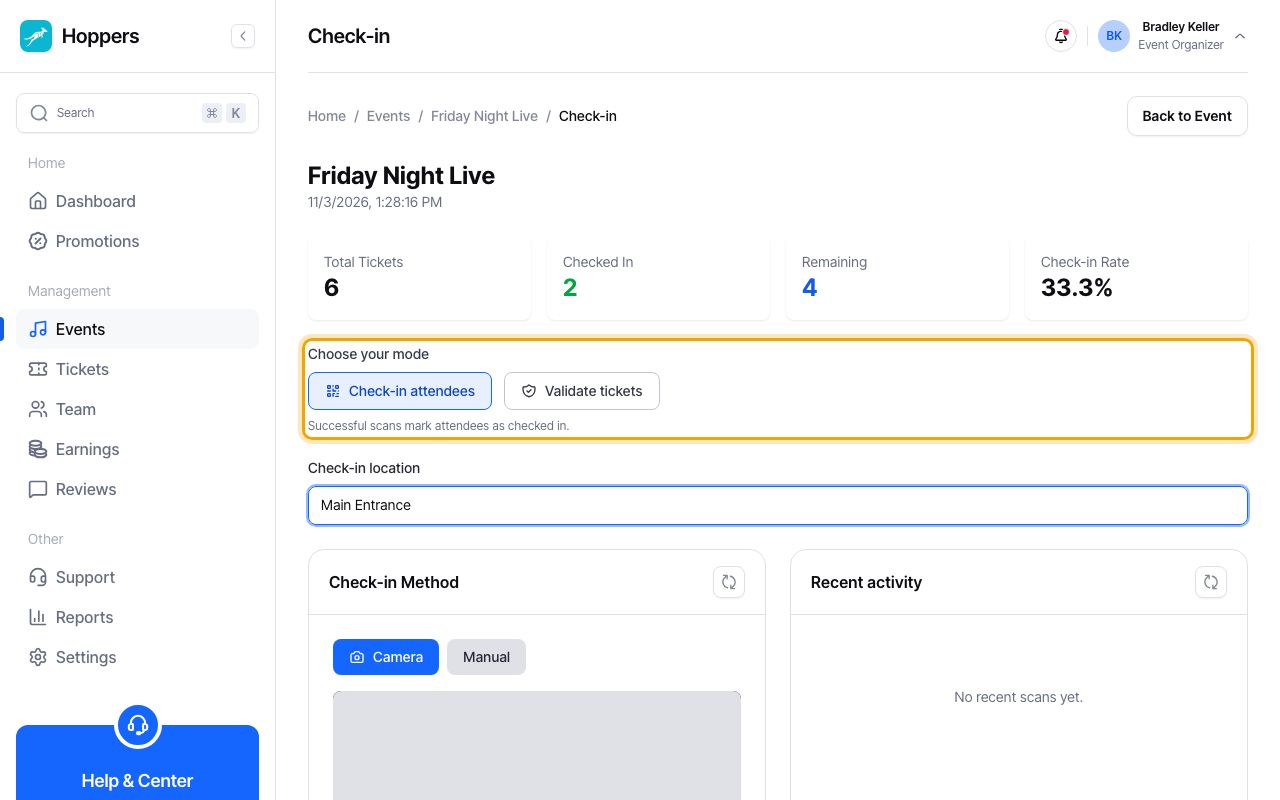
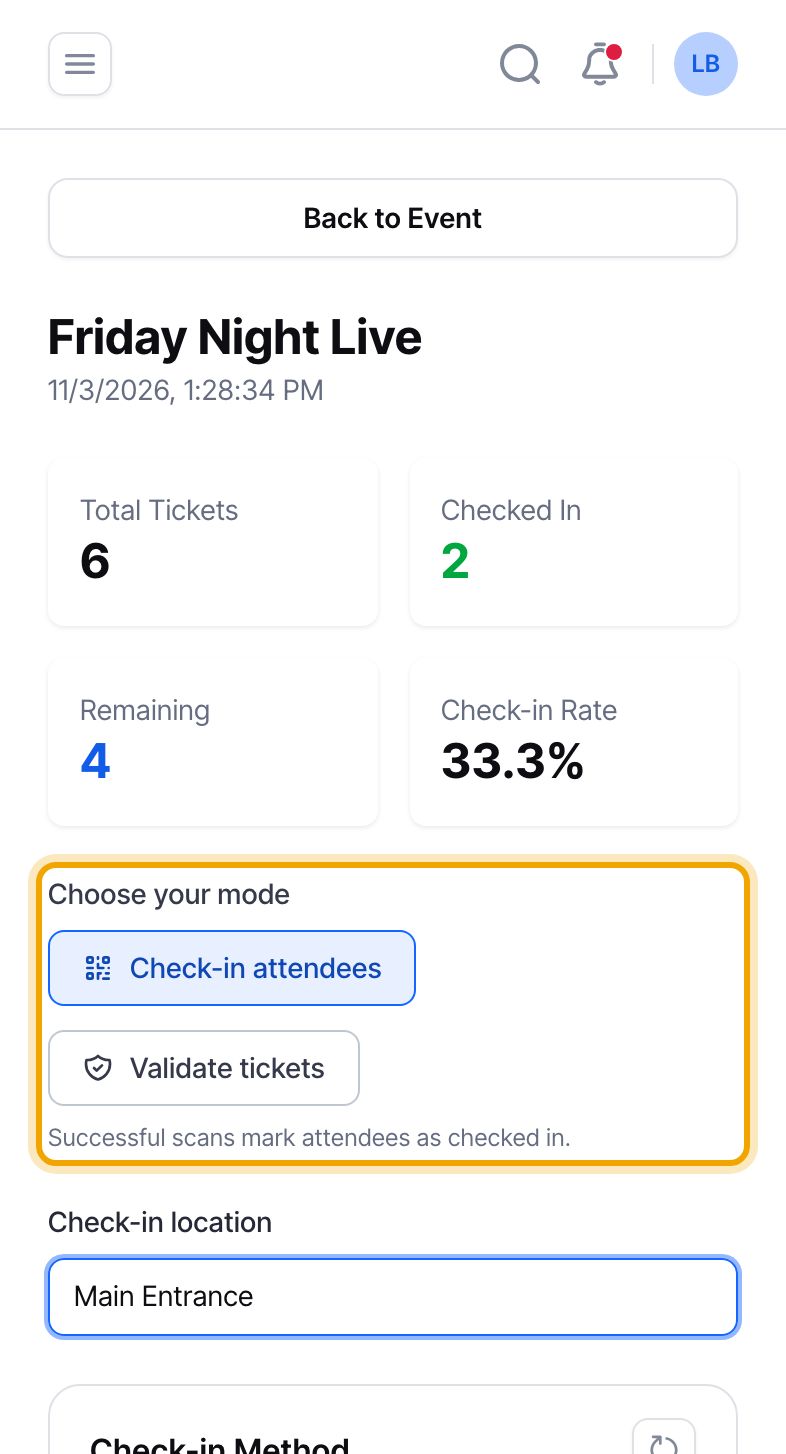
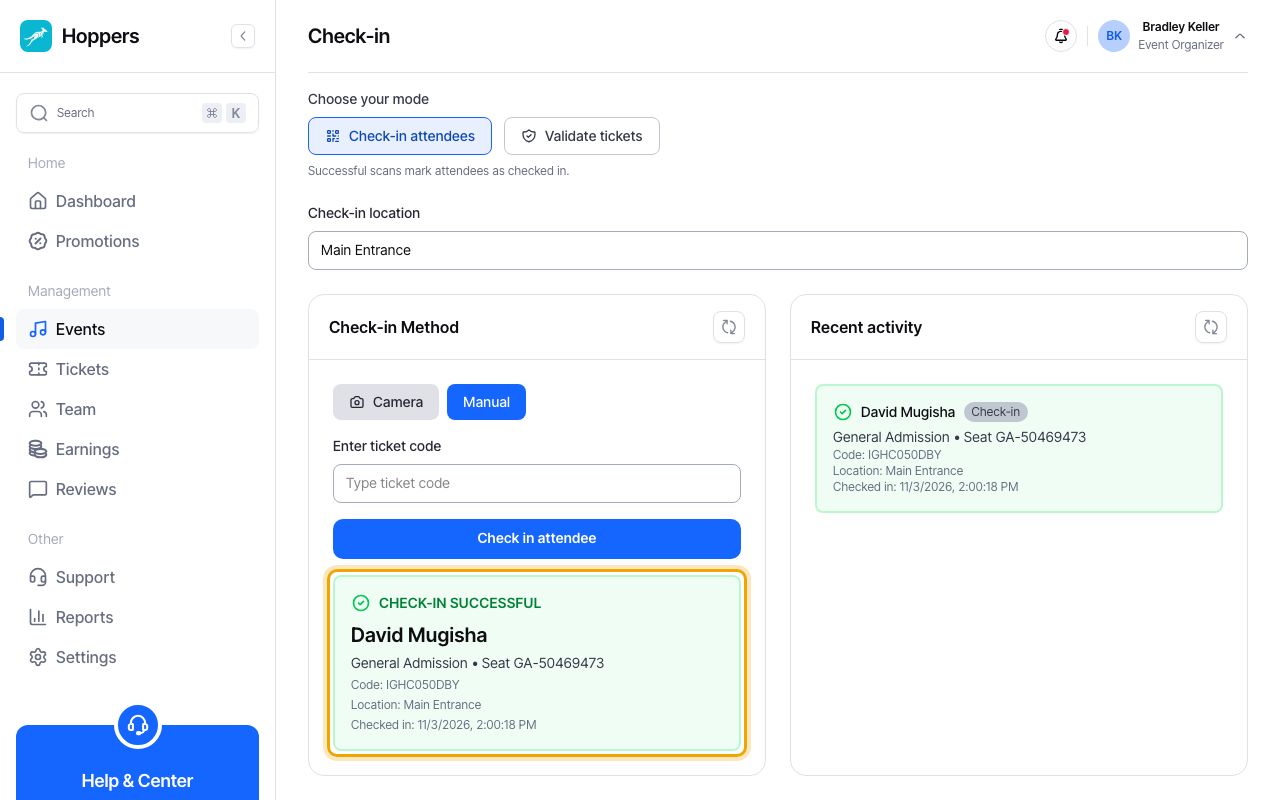
Under “Choose your mode”, keep “Check-in attendees” to let people in: each ticket you scan is marked as used. Choose “Validate tickets” to check a ticket is real without using it. In “Check-in location” you can type which door you are at, for example Main Entrance.
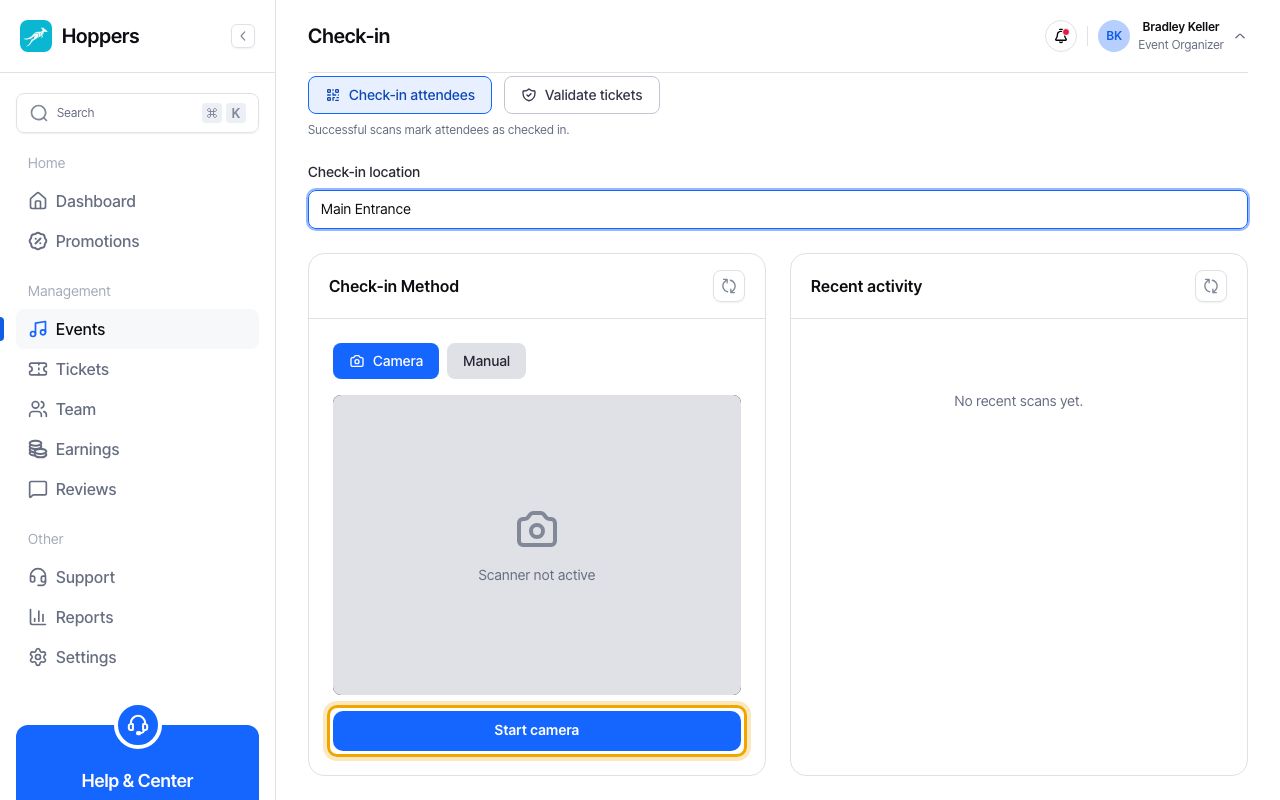
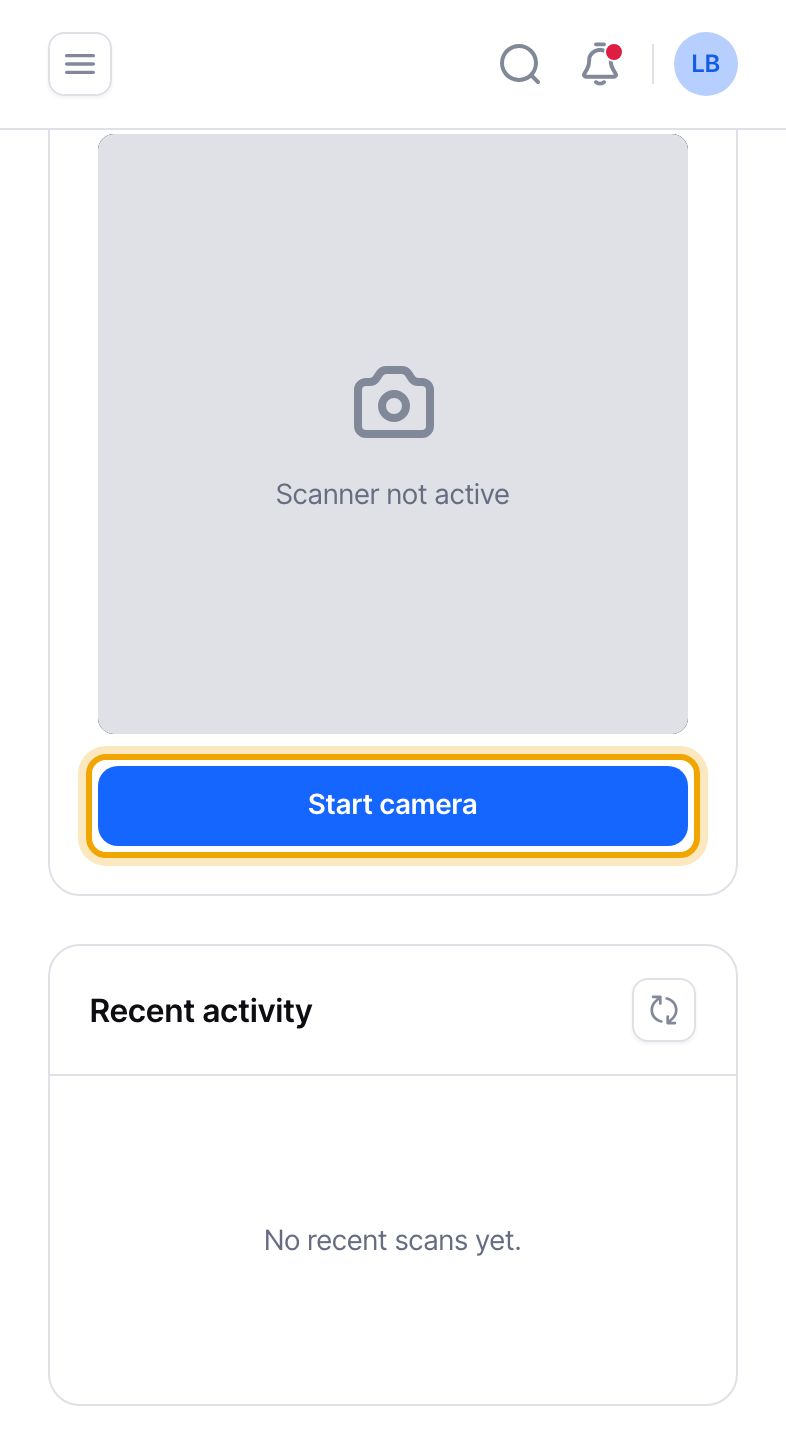
Under “Check-in Method”, select “Camera”, then “Start camera”. Allow camera access if your browser asks. Point the camera at the QR code on the guest’s ticket. The result shows straight away.
Use a phone or tablet with a back camera, and turn up the screen brightness in dark venues.
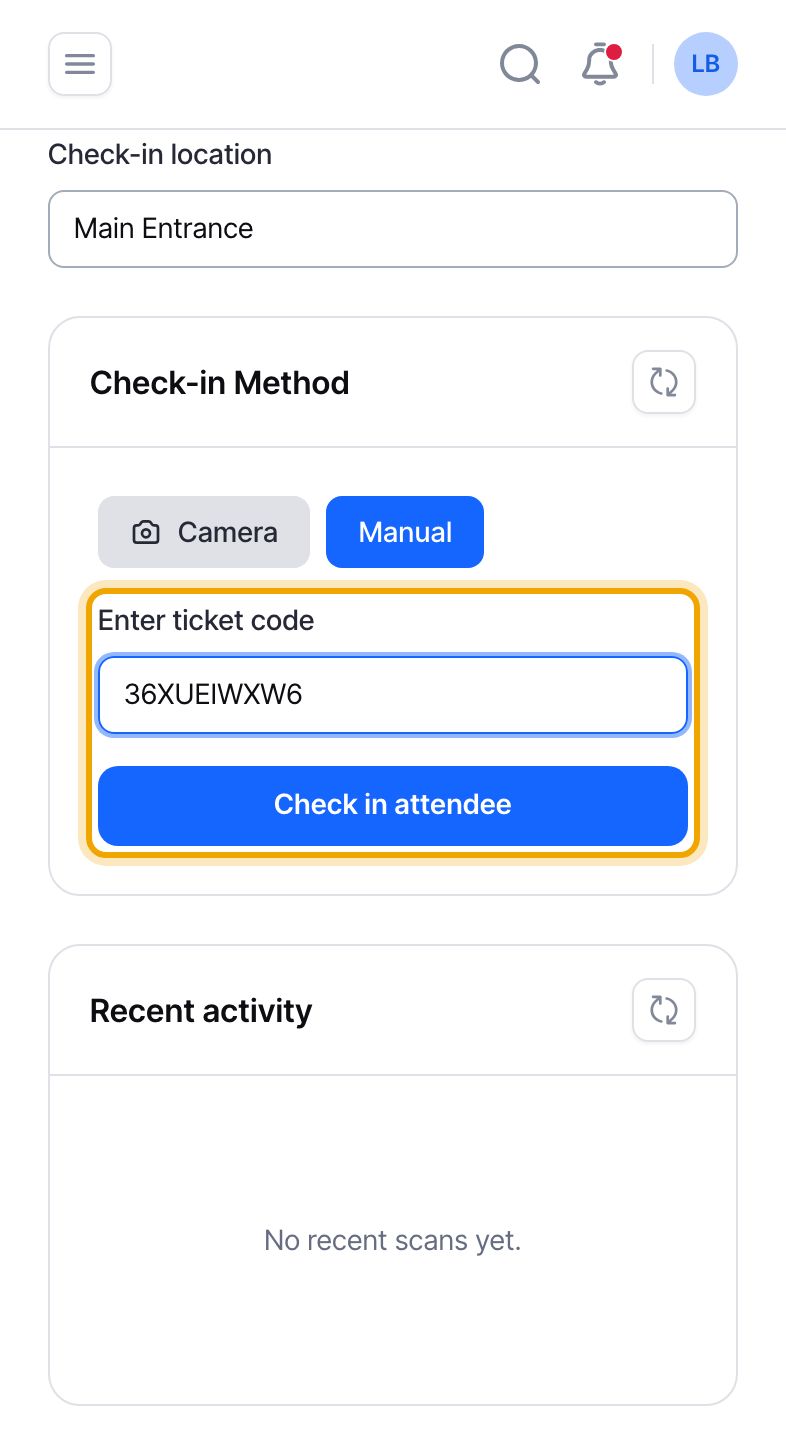
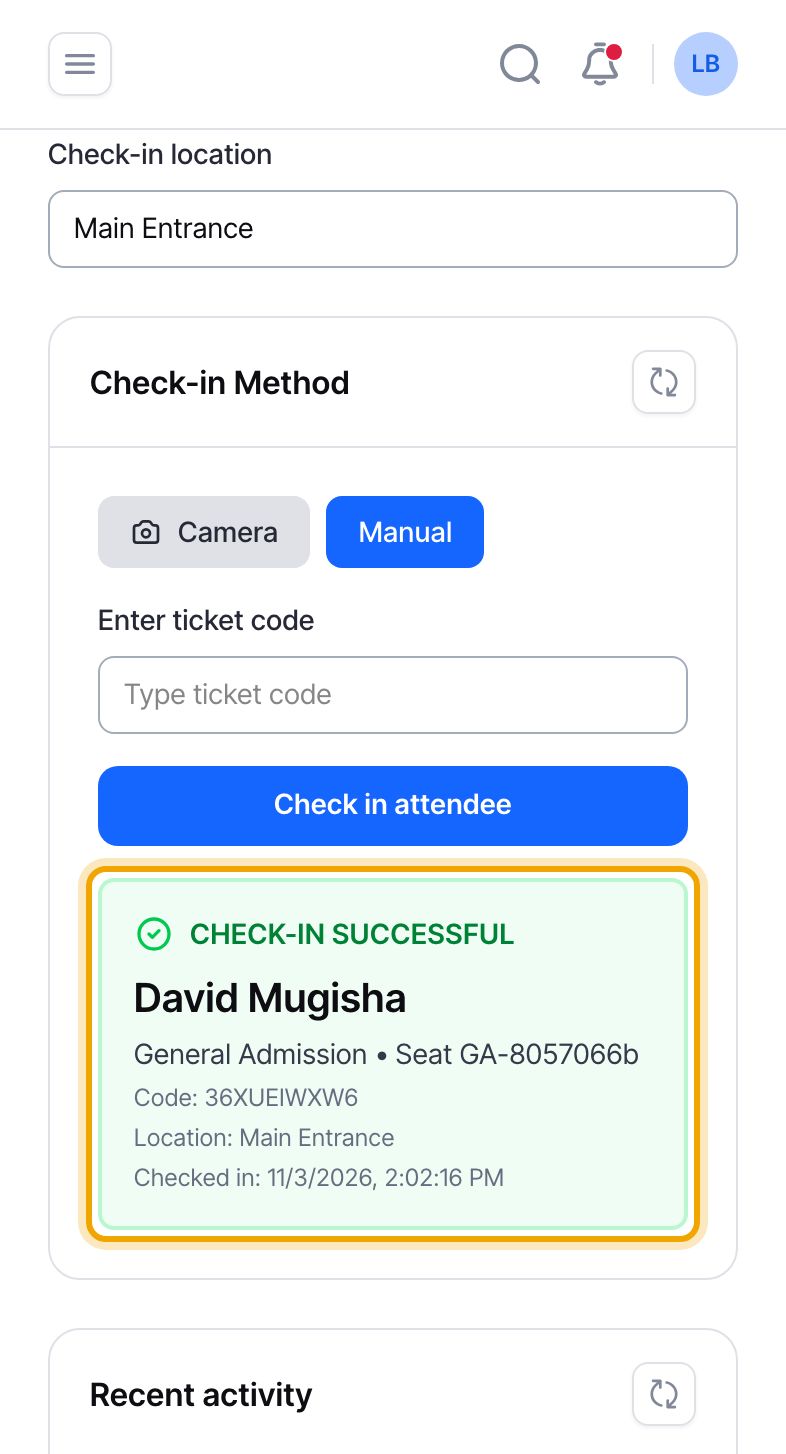
If a QR code will not scan, select “Manual”. Type the code printed under the guest’s QR code into “Enter ticket code”, then select “Check in attendee”.
A green “Check-in successful” card shows the guest’s name and ticket type, and the check-in appears under “Recent activity”. A red card explains the problem, for example “Ticket already used” for a ticket that has been scanned before.
A ticket can only be used once. If someone shows a ticket that was already used, the card says when it was checked in.
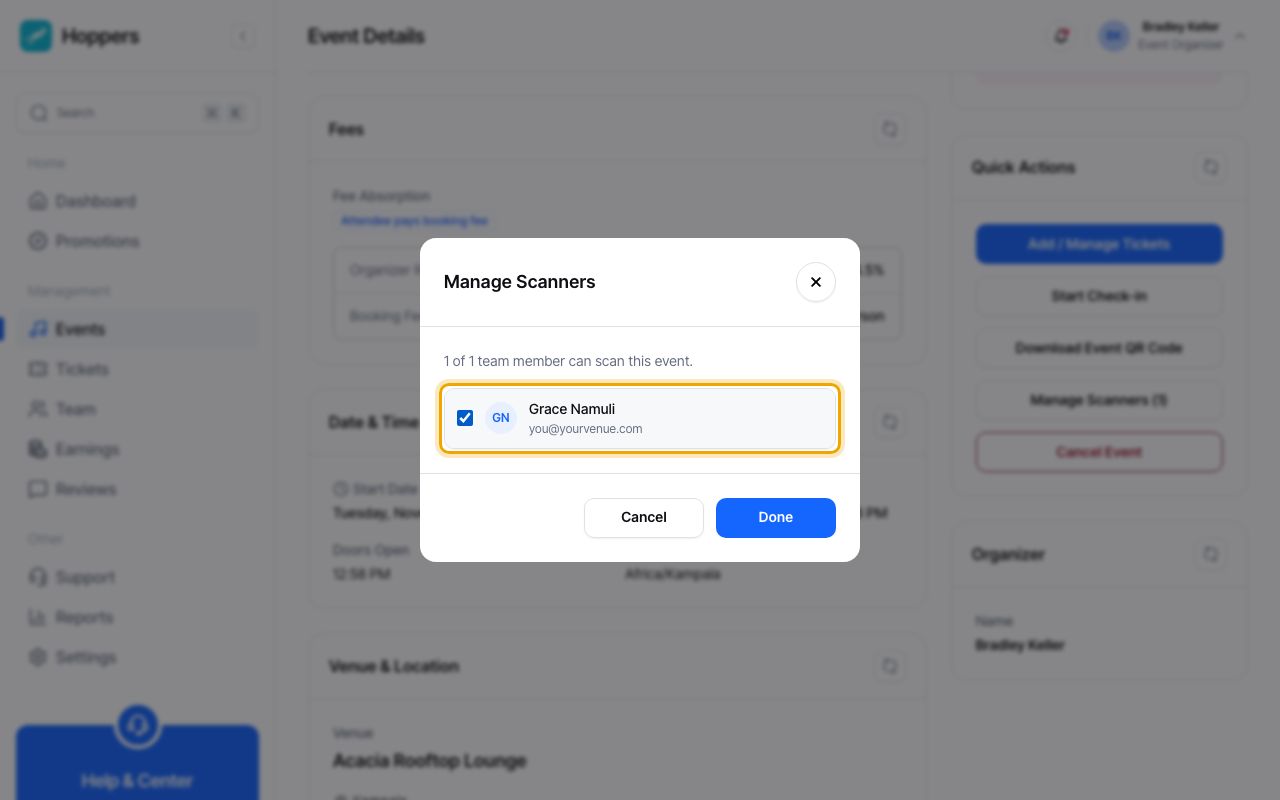
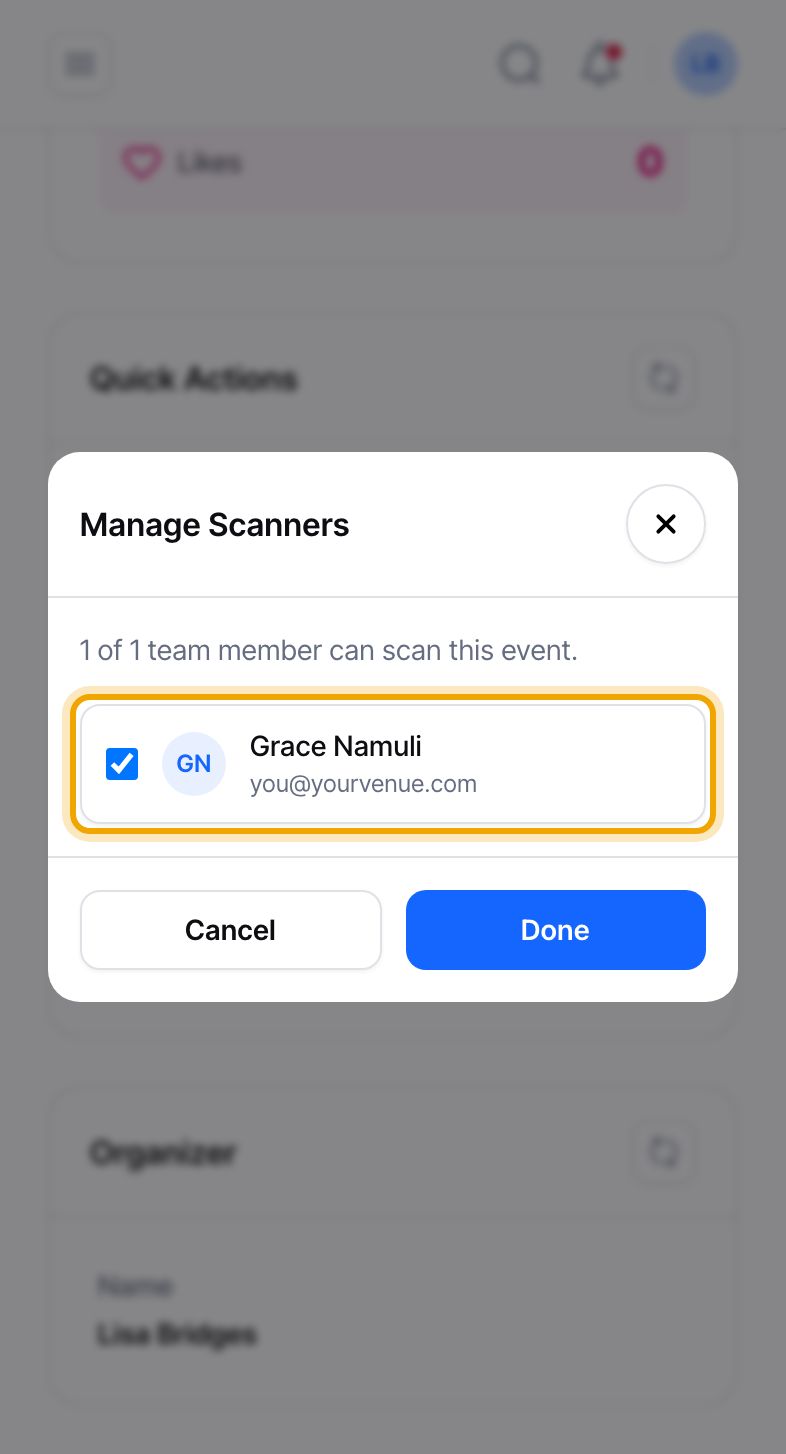
To have helpers at the door, select “Back to Event”, then “Manage Scanners” in the “Quick Actions” box. Tick each team member who should scan this event, then select “Done”. The number on the button shows how many are assigned.
Only people already on your team appear here. Add them first from “Team” in the menu.