Add ticket types with a price, a quantity and a sales window, and see how they look to buyers.
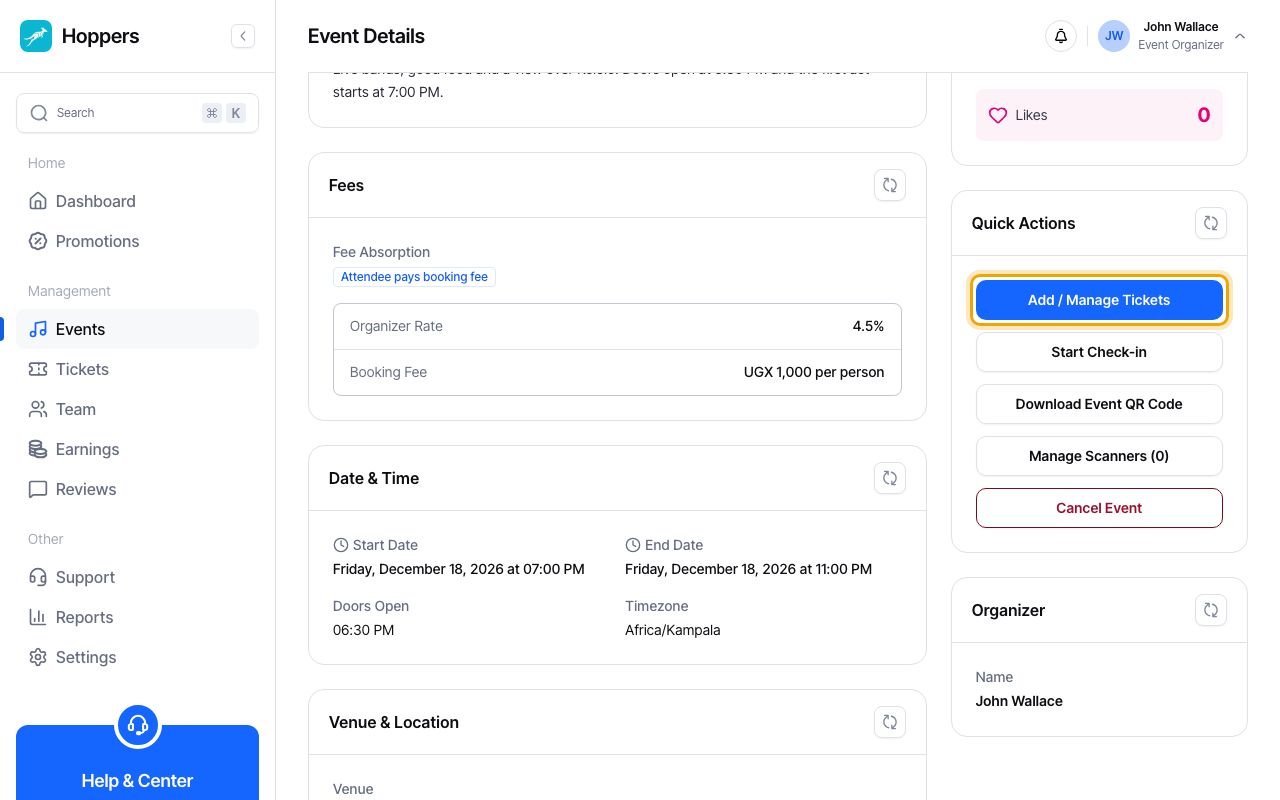
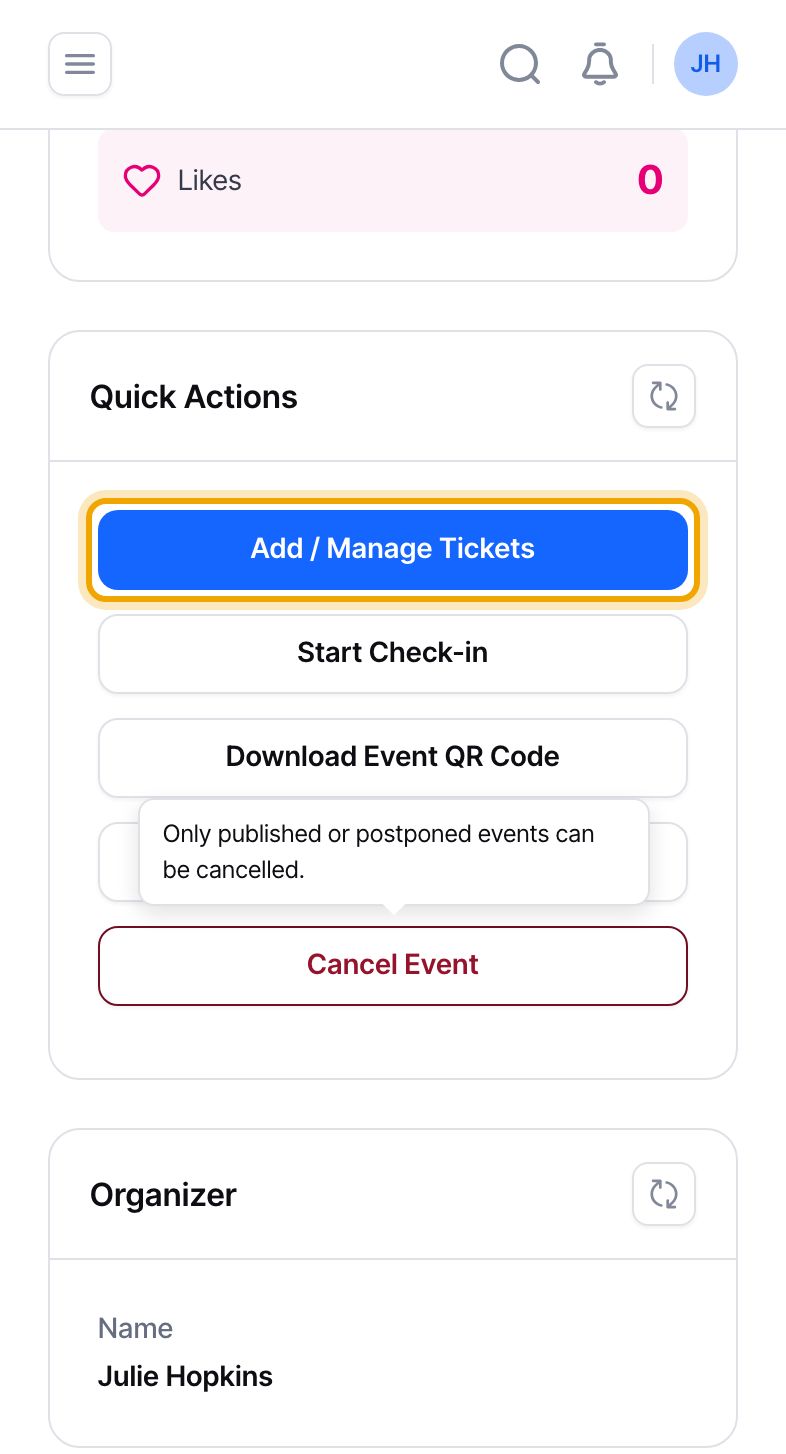
Open your event from the “Events” page. In the “Quick Actions” box, select “Add / Manage Tickets”. On a phone the box is below the event details.
The button is greyed out for free events and for events sold outside Hoppers, because those have no Hoppers tickets. Hover over it or tap it to see why.
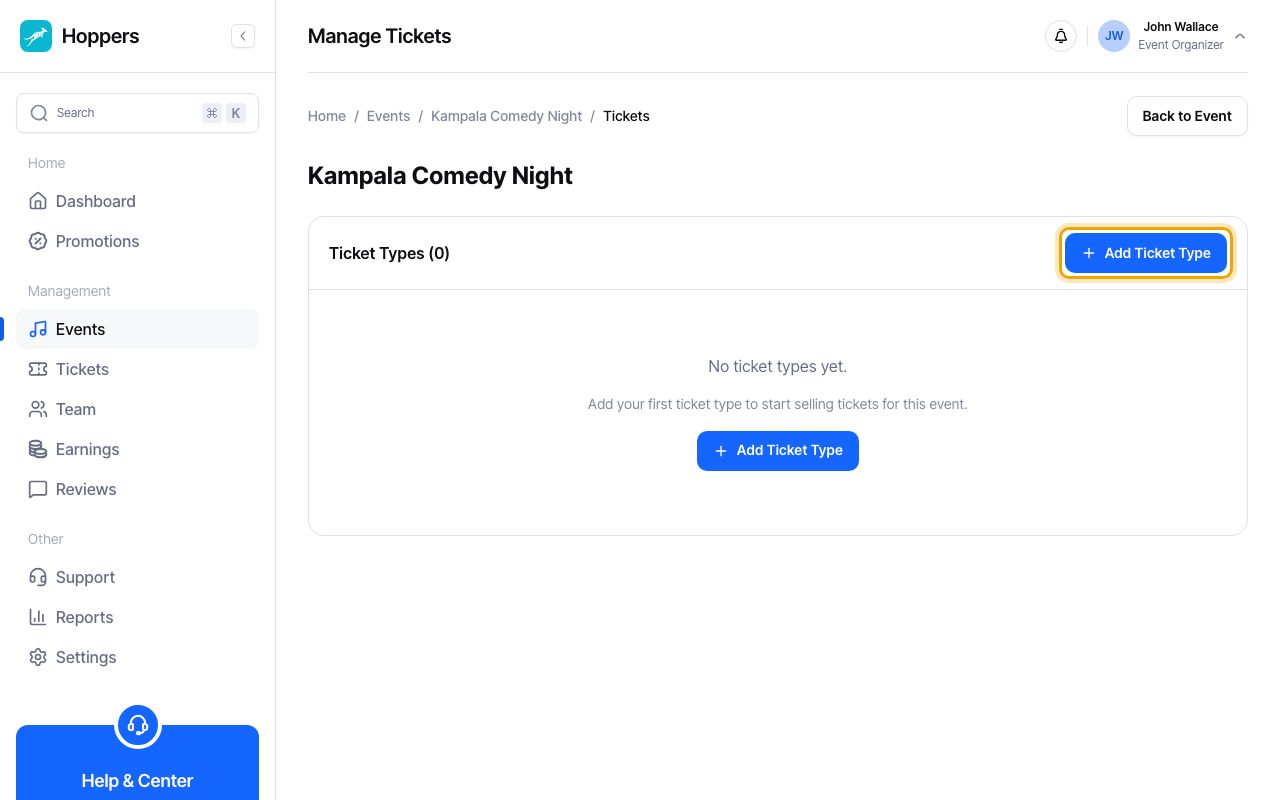
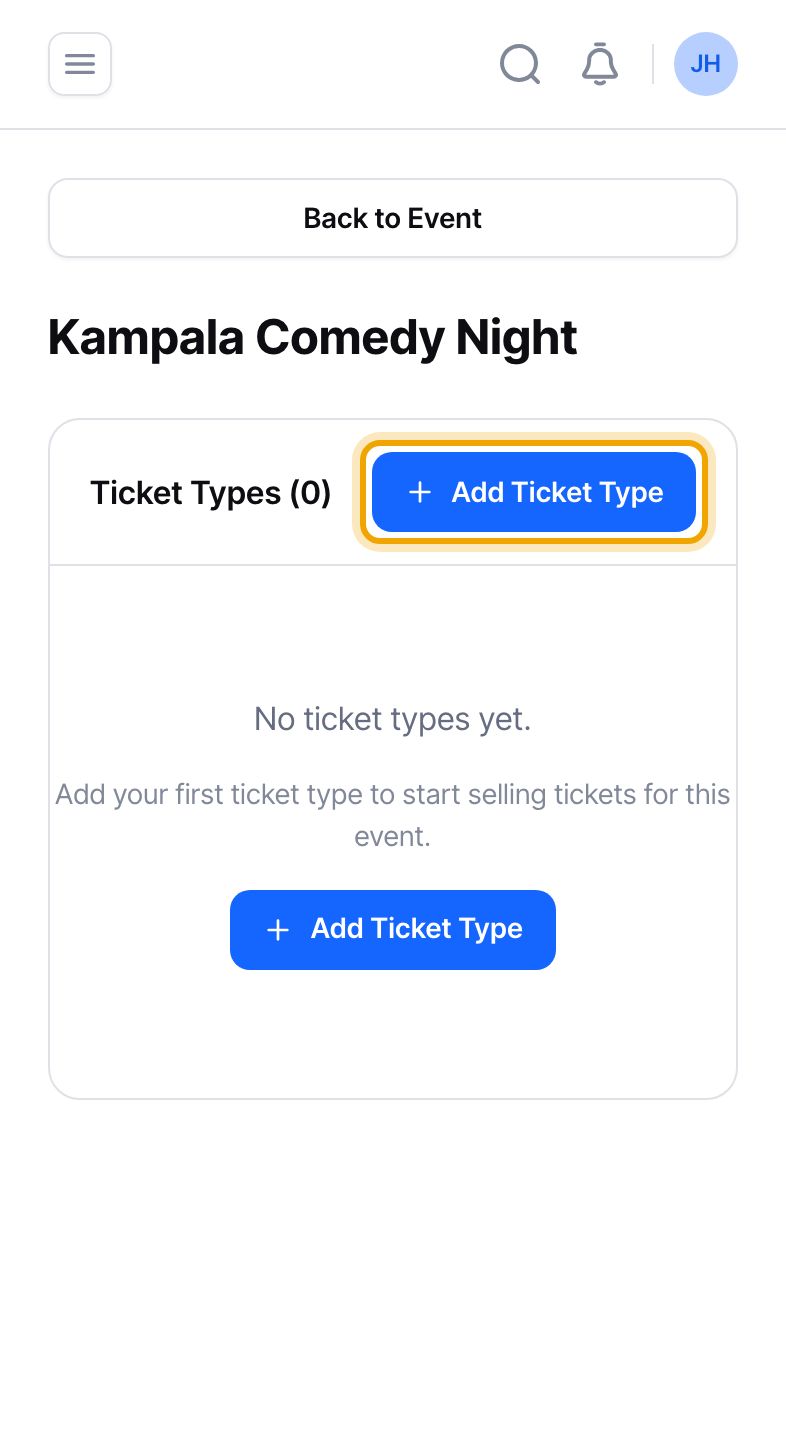
A new event shows “No ticket types yet.” Select “Add Ticket Type”. A panel opens on the right, or fills the screen on a phone. Create one ticket type for each kind of ticket you sell, for example General Entry and VIP.
Type a “Name” that buyers will recognise, then enter the “Price” in UGX. This is what the buyer pays for the ticket. The lowest price allowed is UGX 500. Hoppers’ own charges are not added to this number: the booking fee is paid by the buyer on top, and Hoppers’ other charges come out of your side. Our guide “How organizer fees work” has the details.
Make a free ticket by making the whole event free on the “Pricing & Fees” tab, not by entering a price of zero.
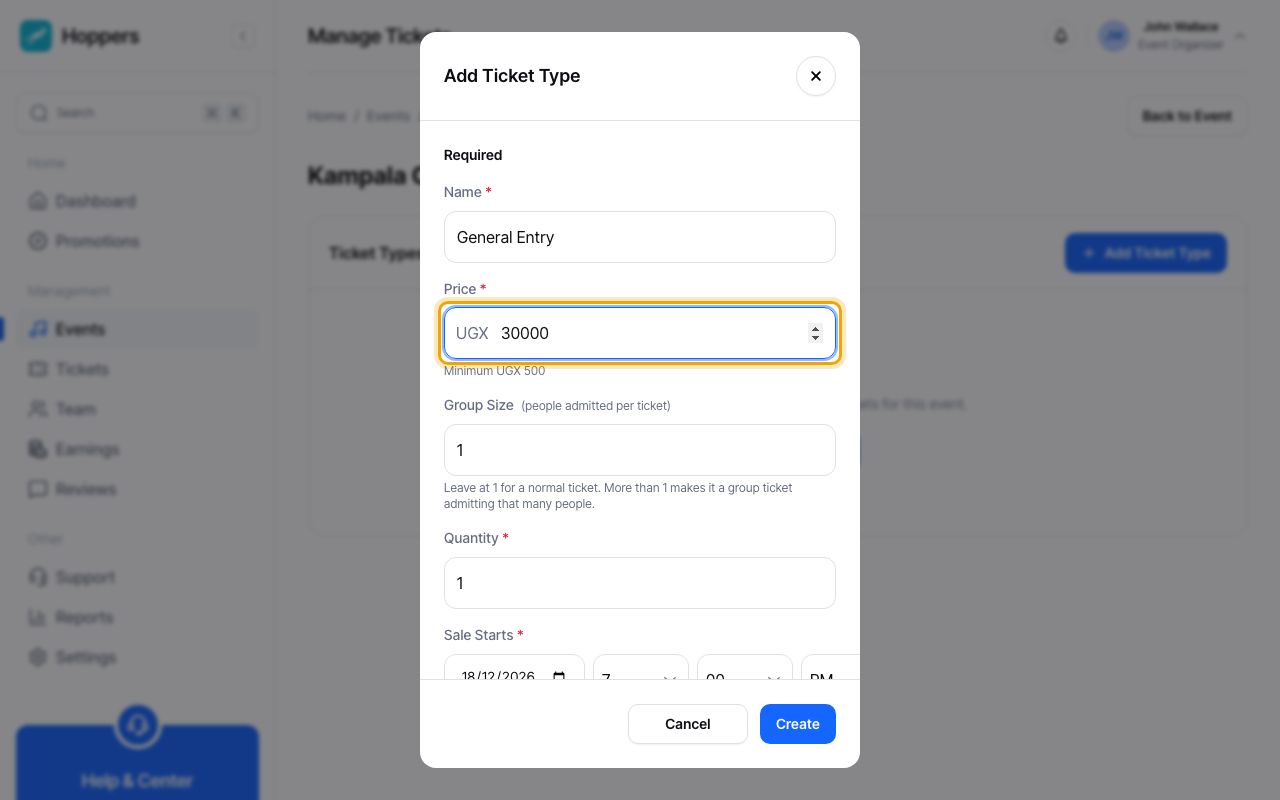
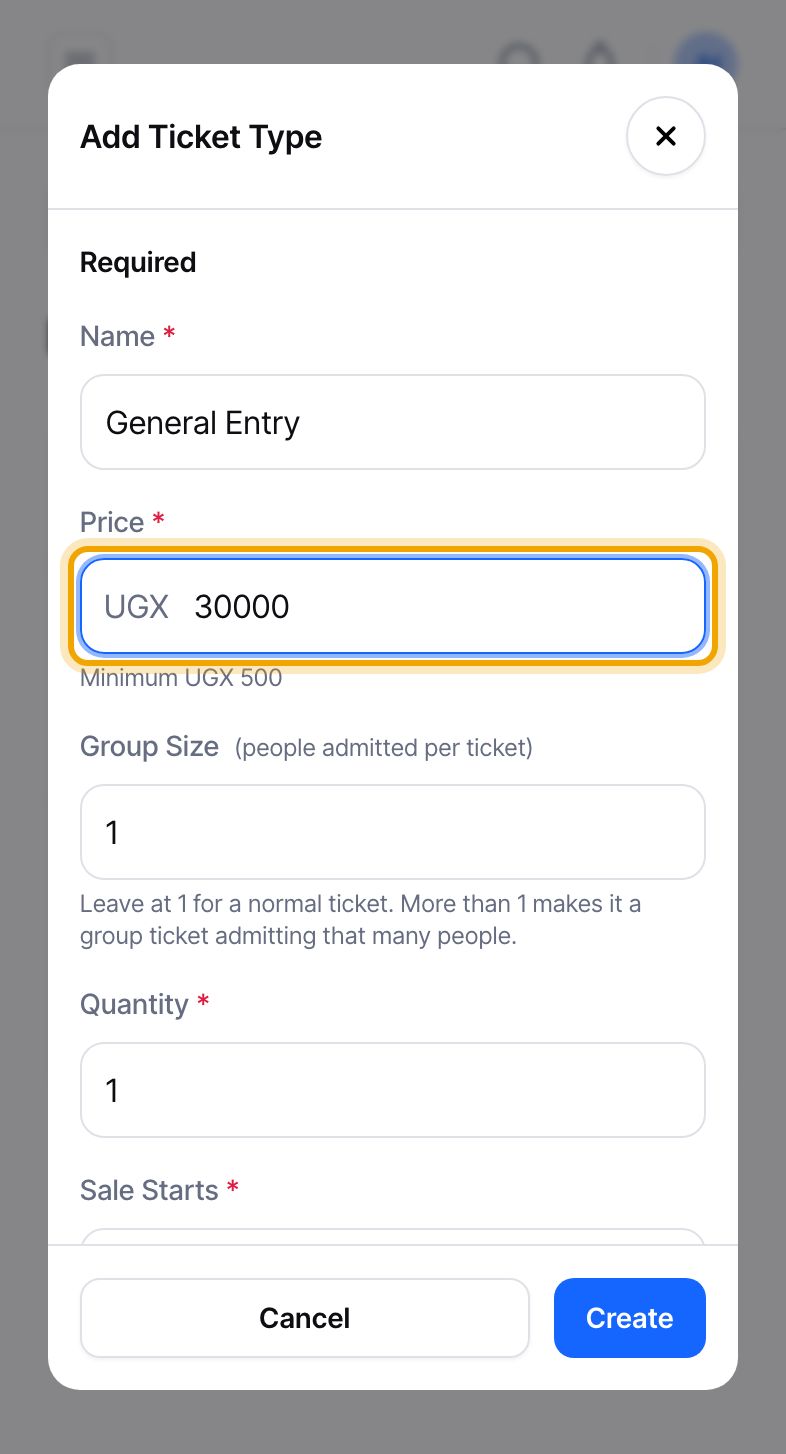
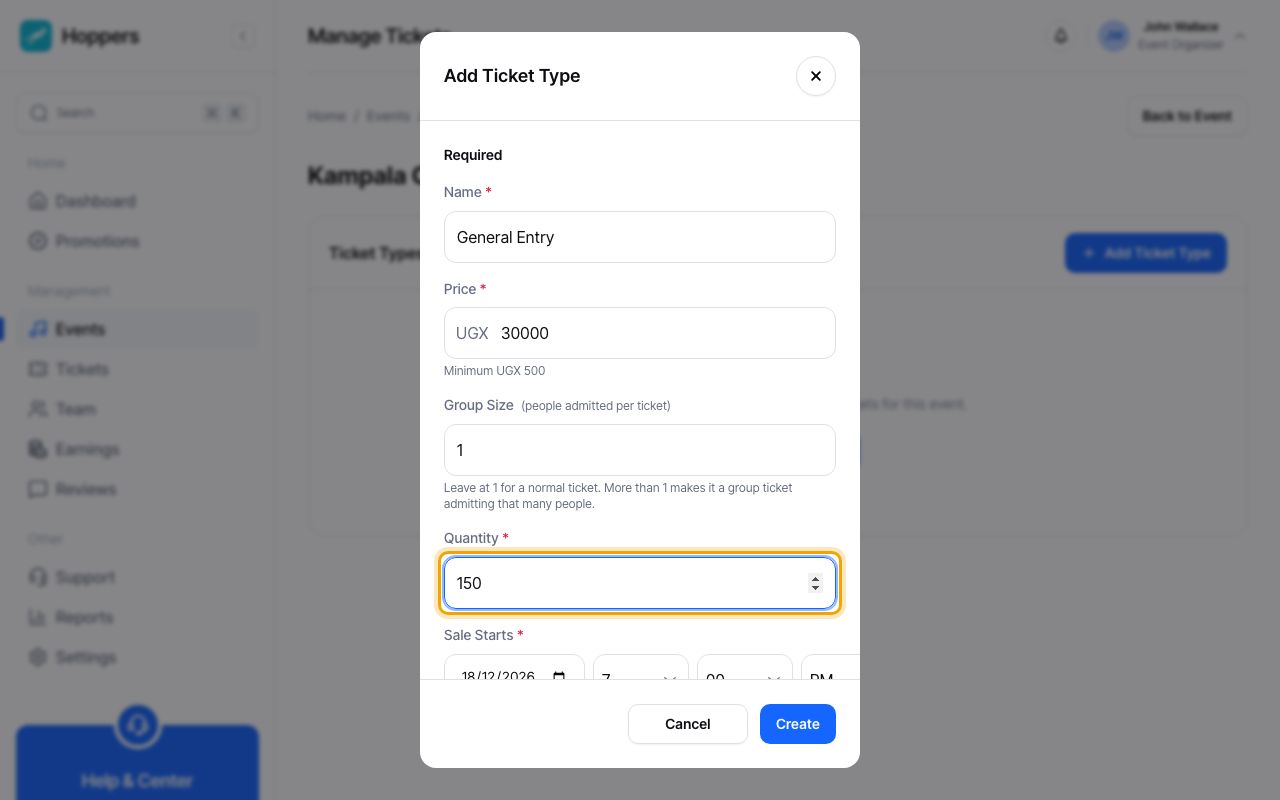
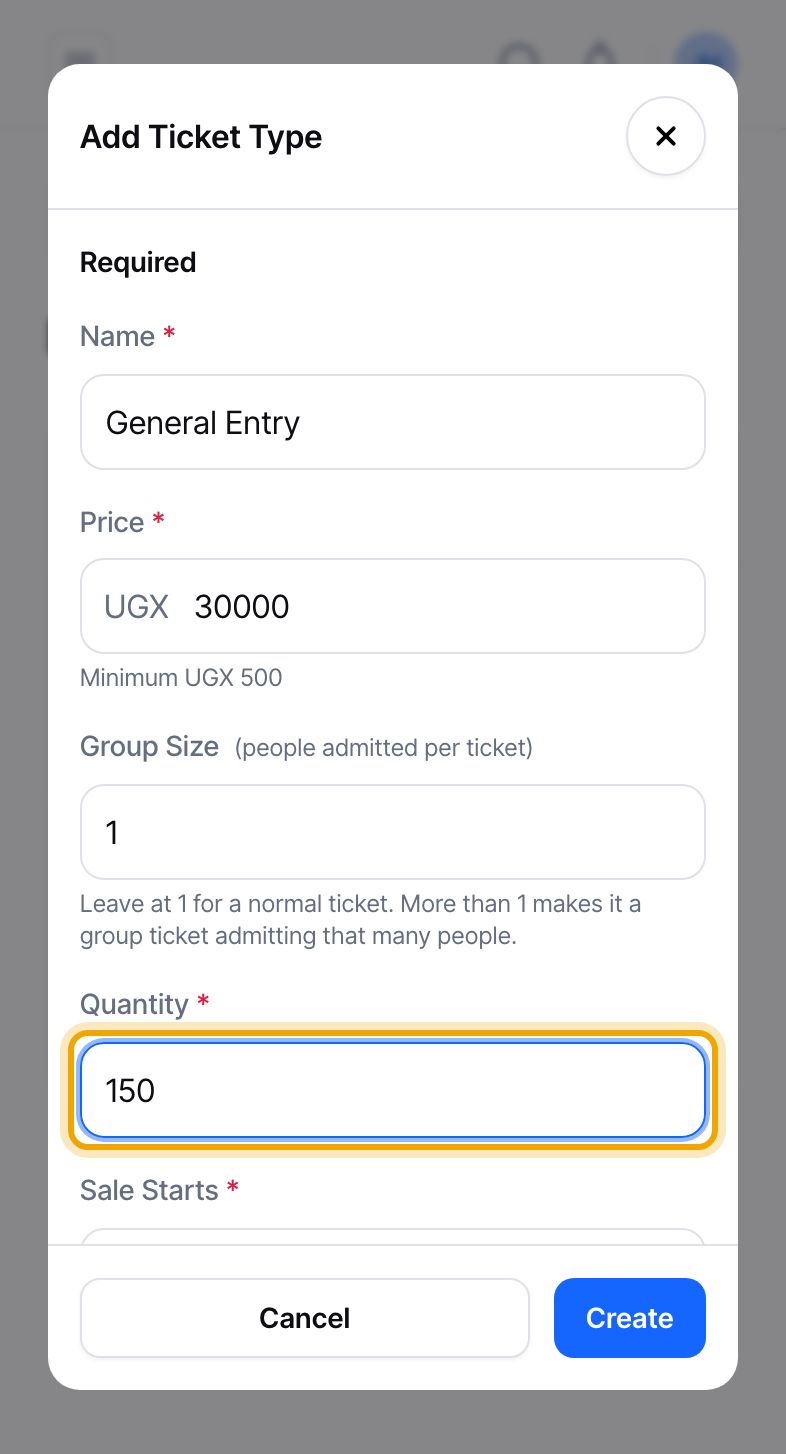
Enter the “Quantity”, the number of tickets you want to sell of this type. Leave “Group Size” at 1 for a normal ticket. If you enter more than 1, the ticket admits that many people, which suits a table or a group pass.
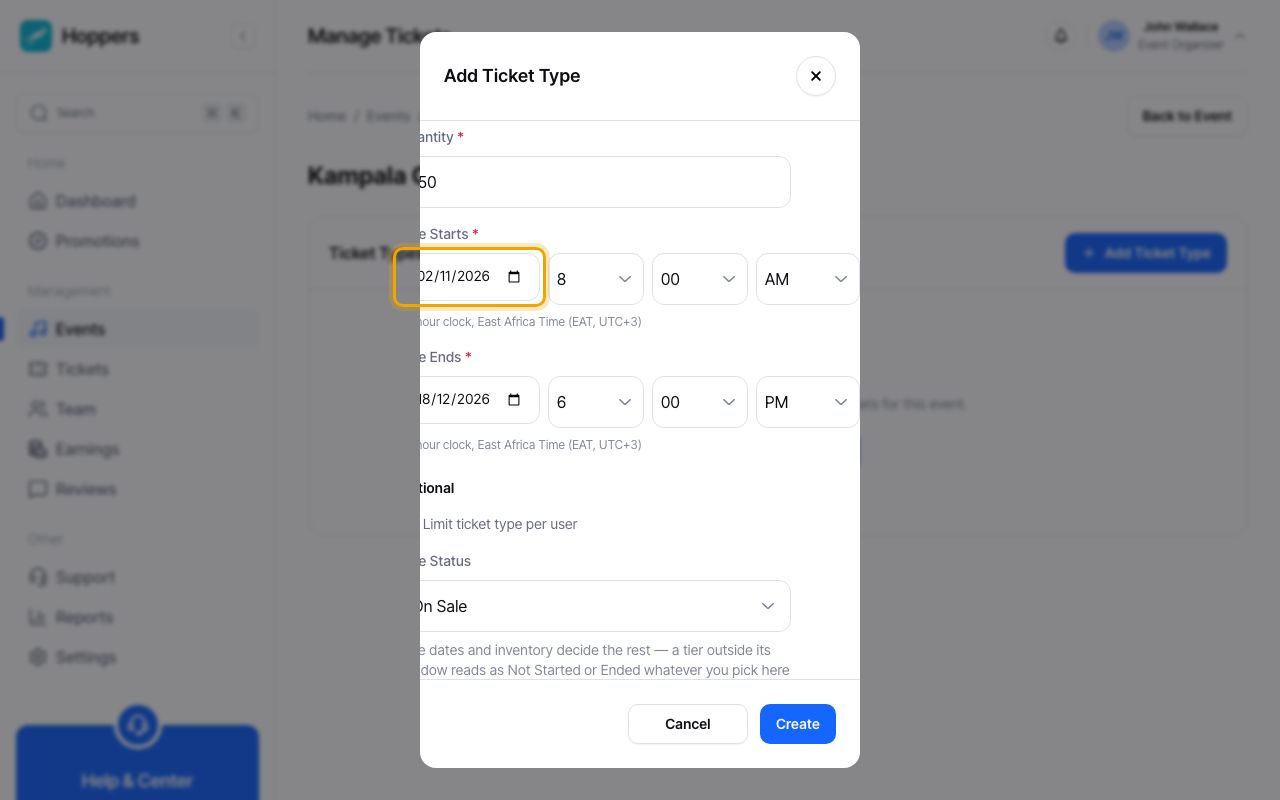
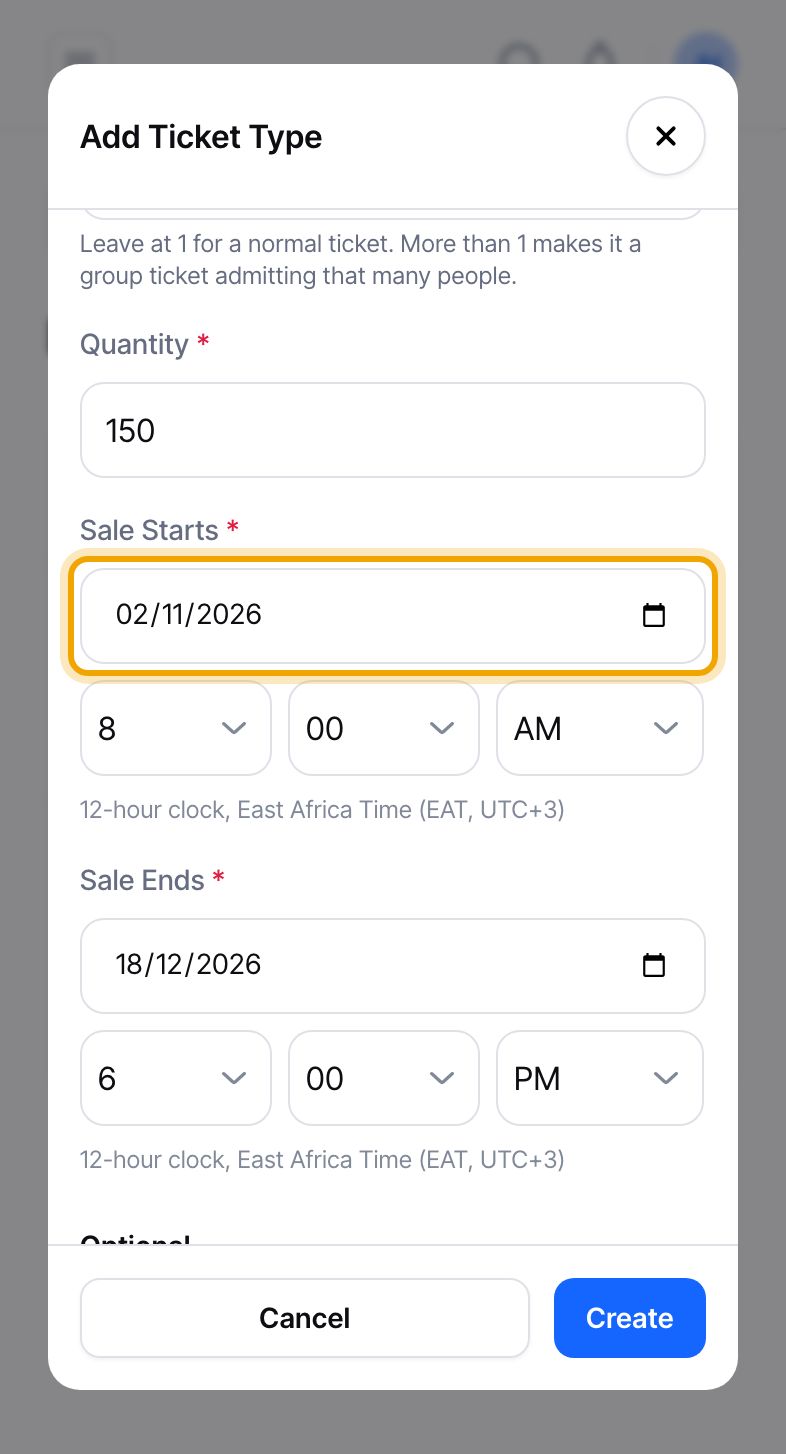
Set “Sale Starts” and “Sale Ends”. The form fills in the event’s own start and end times, so sales would only open when the event begins. Change “Sale Starts” to when you want people to start buying, and set “Sale Ends” to the time you want to stop selling. Sales cannot end after the event ends. Times use a 12-hour clock in East Africa Time.
Before the start time buyers see when sales begin. After the end time the ticket shows as ended.
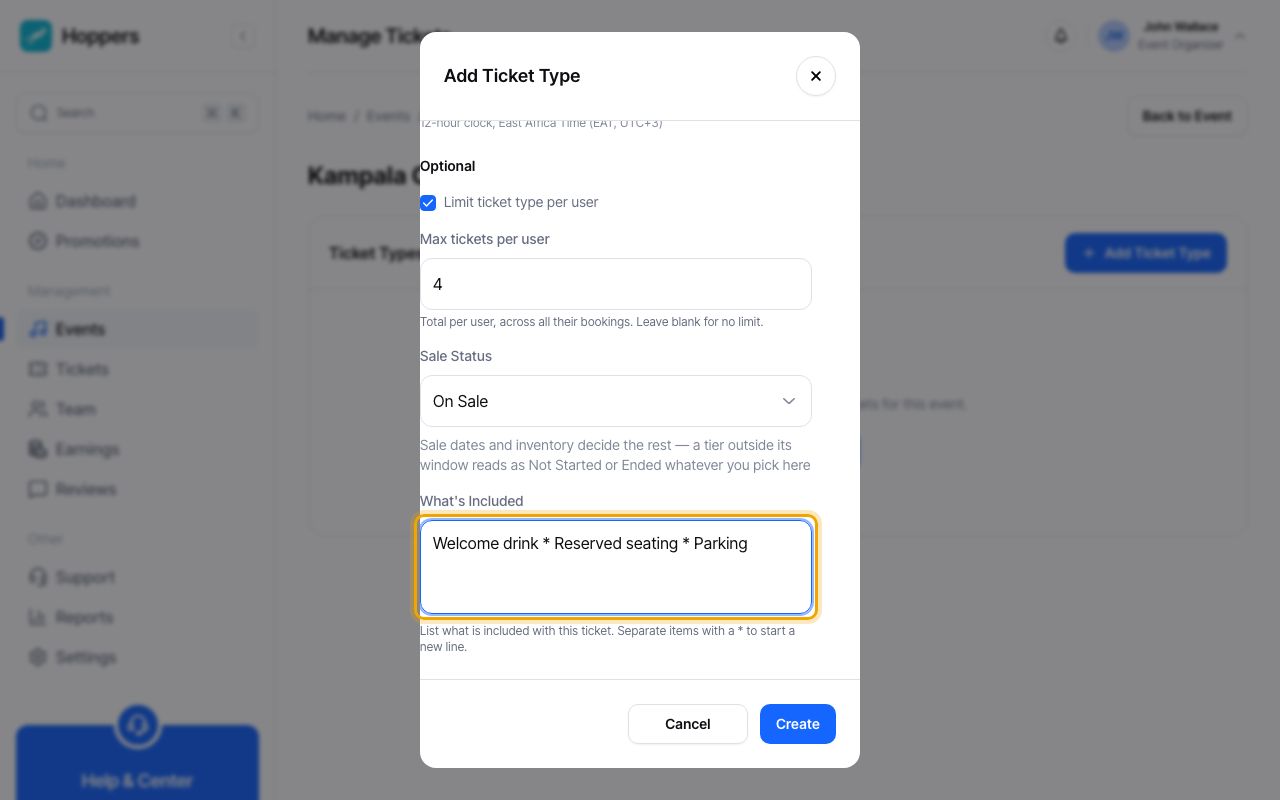
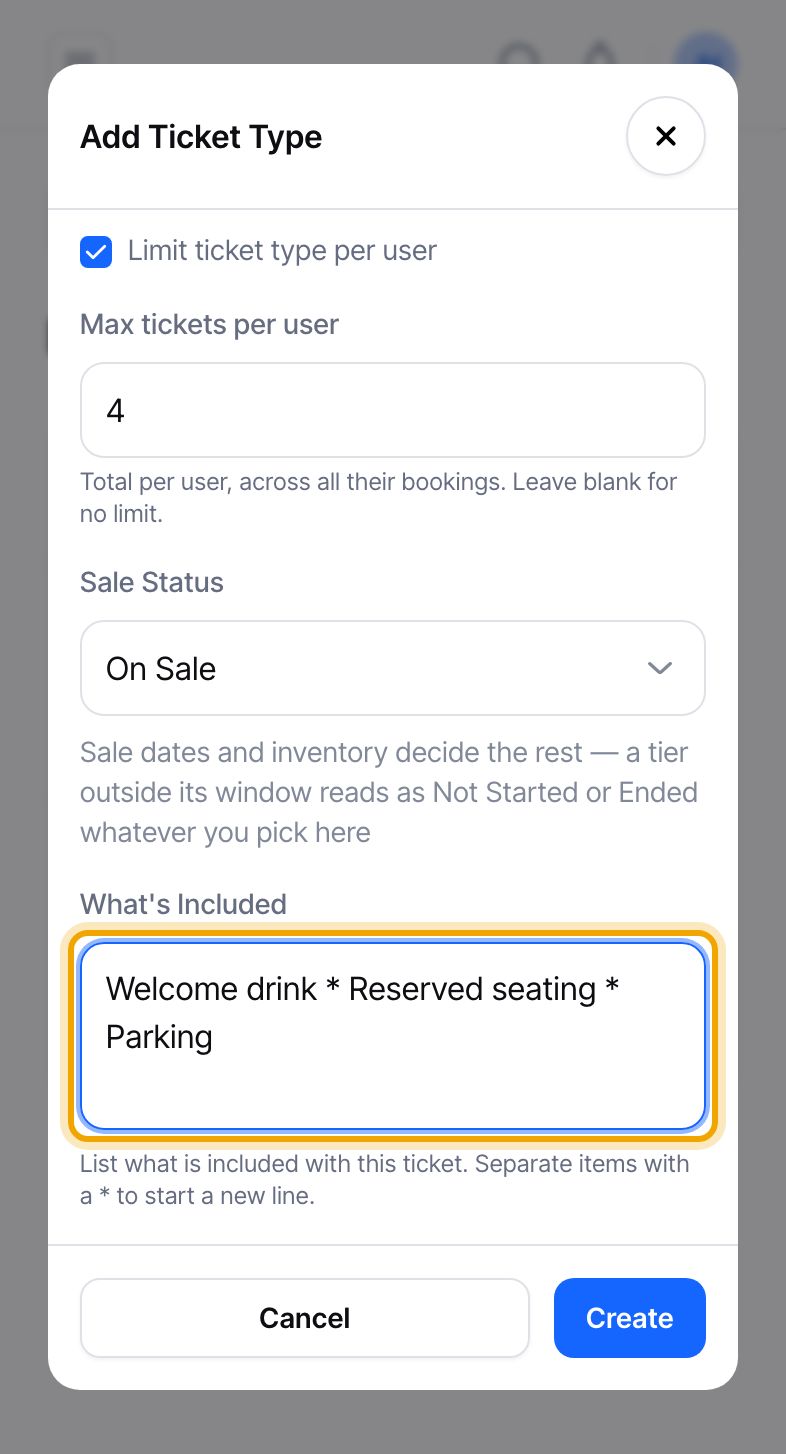
Under “Optional”, tick “Limit ticket type per user” to set the most tickets one person can buy in total. Under “What’s Included”, list what comes with the ticket and put a * between items, for example “Welcome drink * Reserved seating * Parking”. Buyers see these as a list on the event page in the Hoppers app. “Sale Status” stays on “On Sale” unless you want to pause the ticket.
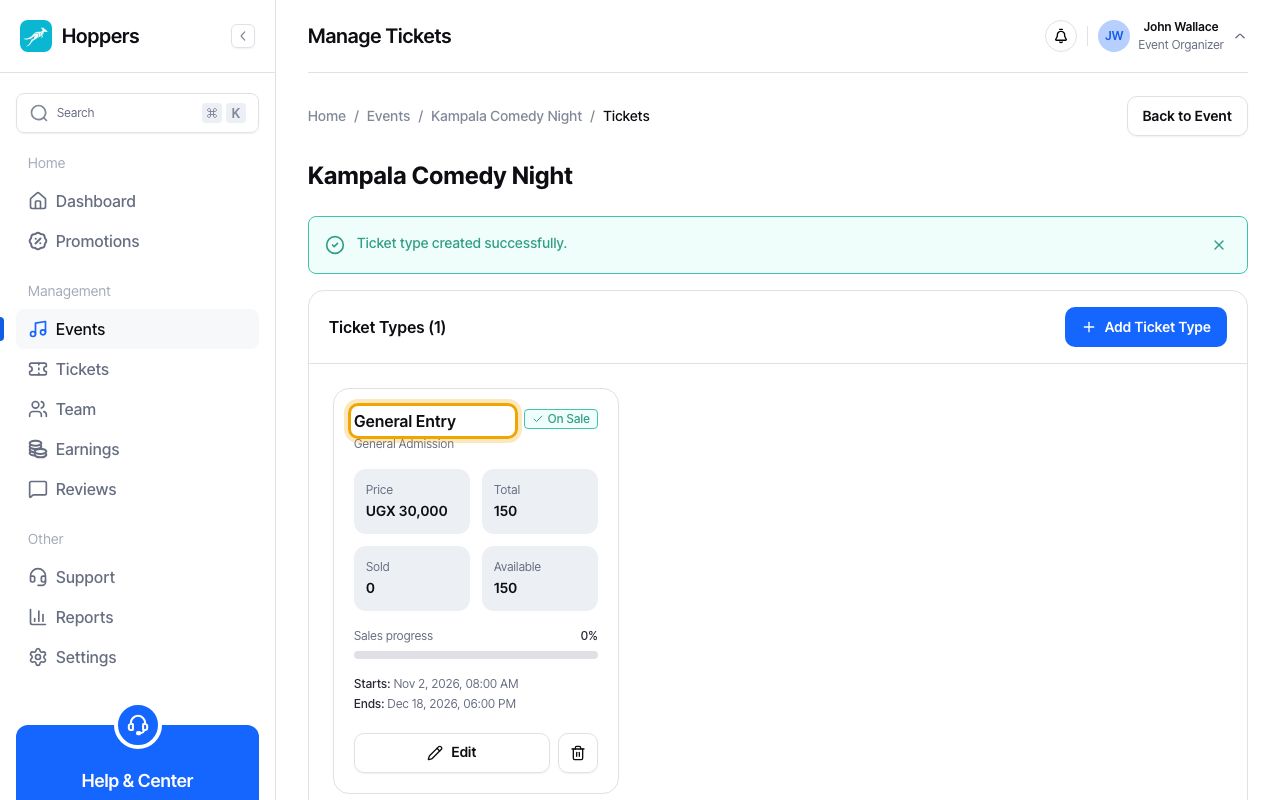
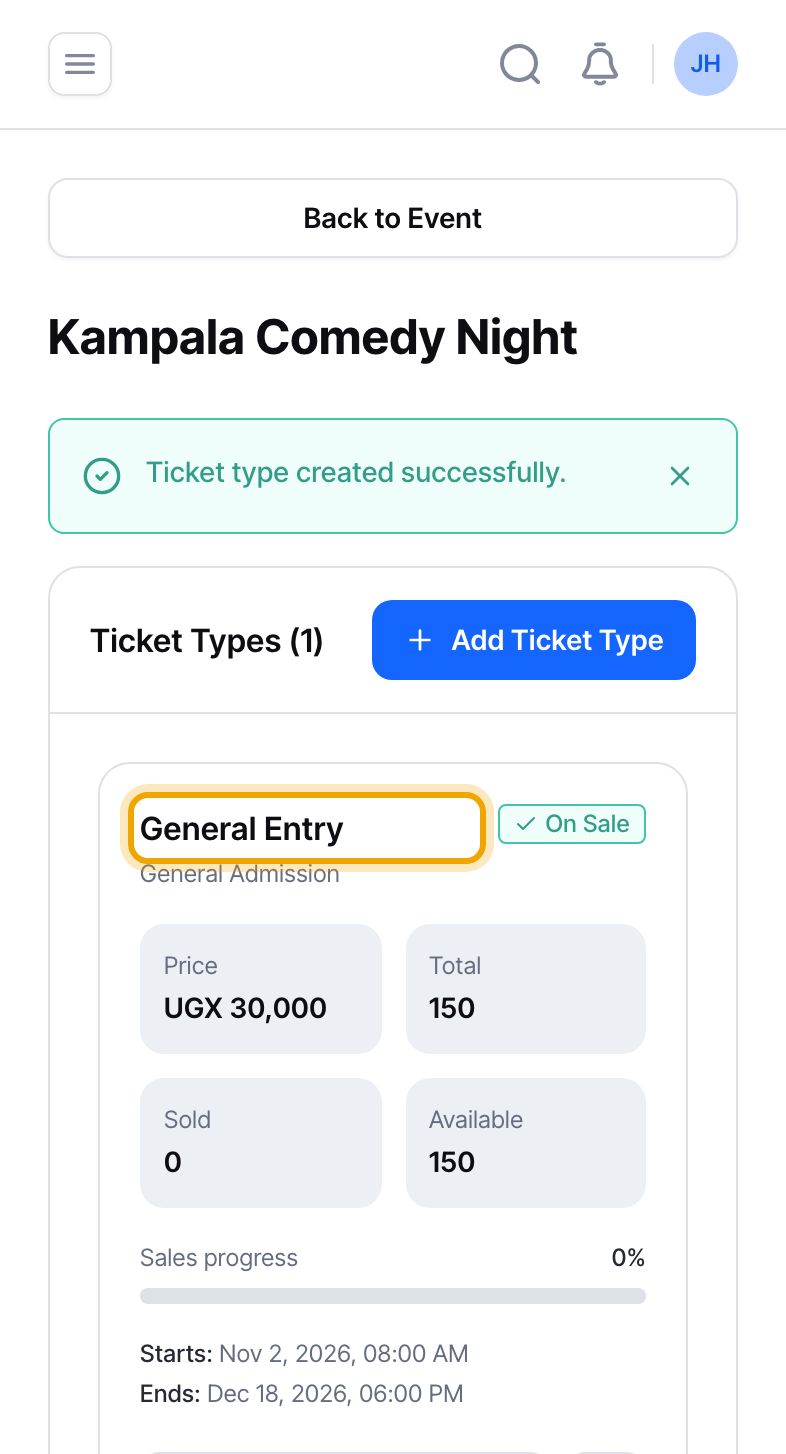
Select “Create”. A green “Ticket type created successfully.” message appears and the ticket shows as a card with its price, how many you have in total, how many are sold and how many are still available. The badge reads “On Sale” once the sale window has started.
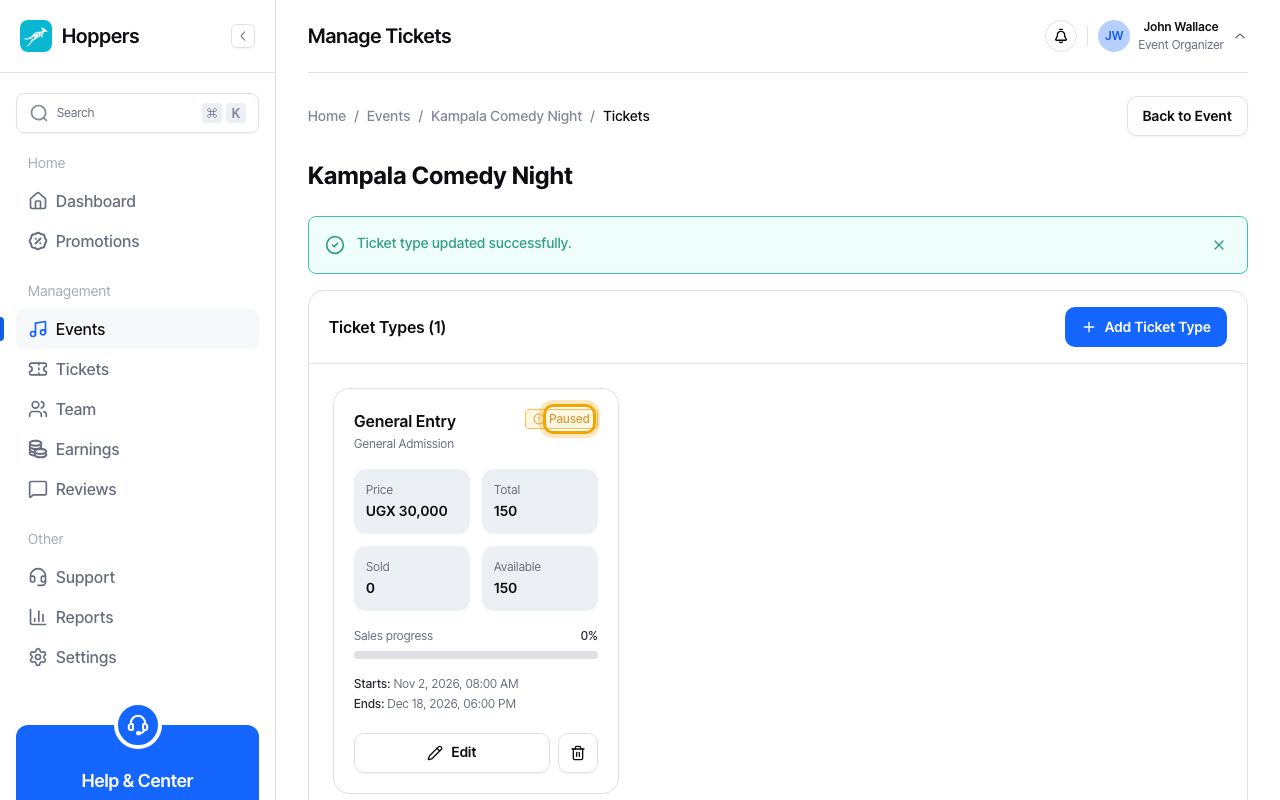
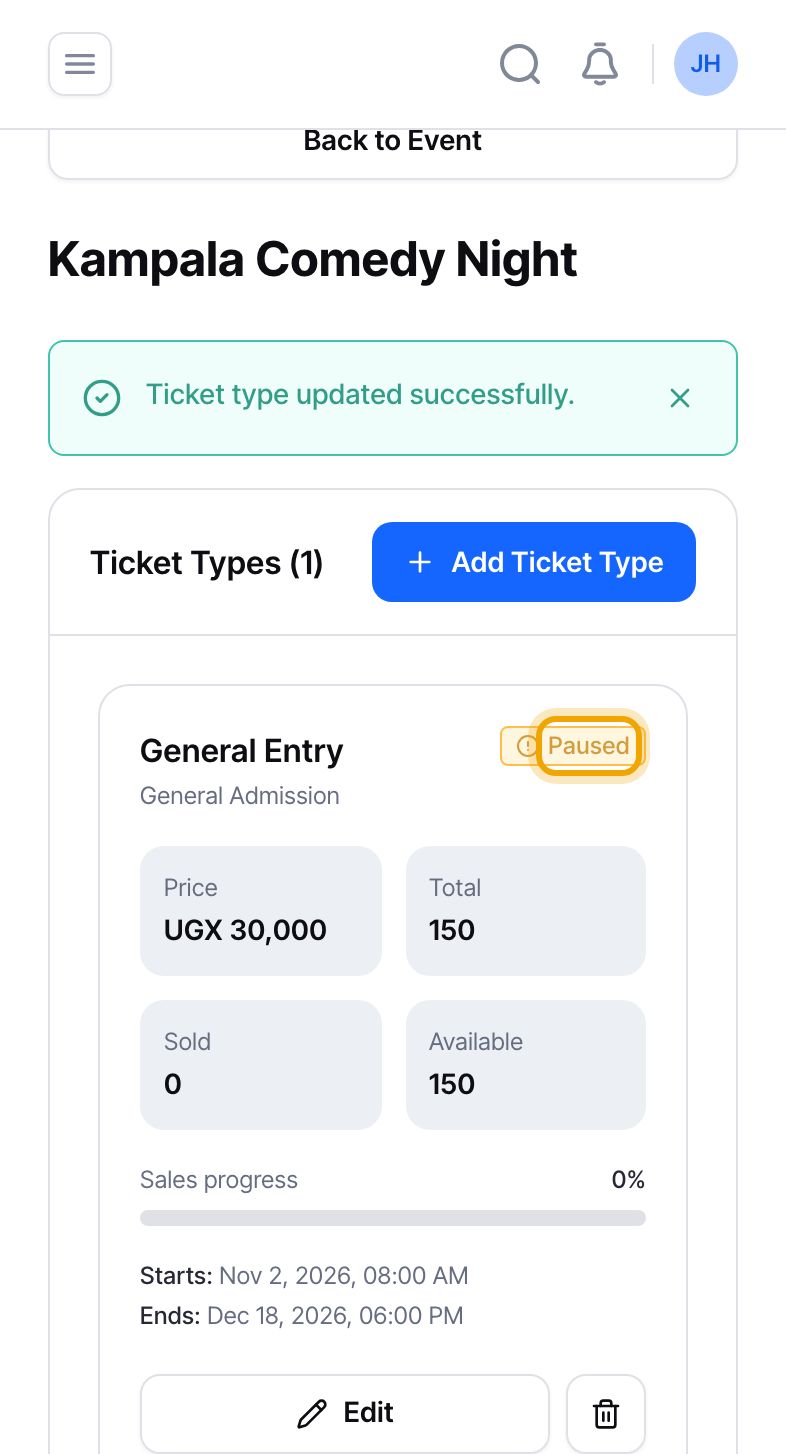
On the ticket’s card select “Edit”, open “Sale Status”, choose “Sale Paused” and select “Save Changes”. The card now shows “Paused”. Buyers see the ticket but cannot add it. Choose “On Sale” again to start selling again.
Once any ticket has sold, the price, group size and sale dates lock for the whole event. You can still lower the quantity (never below what is sold or held), pause sales, or delete a ticket type that has not sold.
In the Hoppers app a buyer sees each ticket’s name and price in UGX, the list from “What’s Included”, and plus and minus buttons to choose how many. A ticket that is paused, not on sale yet, ended or sold out shows a label instead of the buttons, and the event’s button reads “Tickets Coming Soon”, “Sales Paused”, “Sales Ended” or “Sold Out”. These screens are in the mobile app, so this guide cannot show them.
Open “Add / Manage Tickets” again at any time to edit a ticket type. A ticket type that has sold or has tickets being paid for cannot be deleted. Instead, lower its quantity to what is already sold, or pause it.
